Here is a copy of the thread posted on KitchenKnifeFora.com and Messenplatform.nl.
In this thread I will share with you the forging and making of three chef's knives. All three of them will be the "Van Zanten 220" model, a 220 millimeter chef's knife, very light weight, just under 200 gram. The grind will be a double hollow, it cuts very easily and has good food release. Over sharpening life the blade remains thin at the edge.
Yesterday I started forging this piece of damascus. It is a random-type variation on a chevron ladder. It is made from the same three types of steel as the picture below.
From this picture on I will start with the WIP. For the damascus I use three types of steel, the first steel; 1.2842, in USA known as O2, is a high carbon tool steel with manganese, the manganese colors black in the damascus. The second steel is 1.2442, this steel is very difficult to obtain and has high carbon and some tungsten in it. This steel has a very fine grain and is very tough when hardened. The tungsten makes it very suitable for kitchen use. It colors grey. The third steel is 75Ni8, very similar to 15N20, it colors "silver". This steel is used in industry for wood cutting blades.
I have ground the oxides of the steel and here I'm cutting it on the bandsaw.
Here is the first stack. It has 18 pieces in it. Some steels are in groups of 4 or 3 to create thicker lines in the end result. I'm shooting for a feather pattern with torsion stars in it. This is my first attempt at this pattern, so fingers crossed.
The billet MIG welded at the ends.
The forging area.
The billet goes into the forge at 1250 degrees Celsius.
Fluxing the billet with anhydrous borax.
After welding the billet and elongating it with the hydraulic press.
The billet has cooled down slow in order to form pearlite, which is soft. Now I can cut the ends of with the bandsaw.
The shaping machine, cutting the faces flat.
Chips from the shaper.
18 layers of tool steel, machined flat.
Today I have been working some more on the damascus.
Here is the previous bar cut up in four pieces.
Here is the new billet.
Halfway heating up.
Shaped clean, cut in two and re-stacked. I MIG weld the billet on the seams so I can get a clean weld, this way I don't have to use any flux.
Welded. Notice the thick MIG weld line in the middle.
Shaping...
A light etch to check the pattern.
Here I'm sawing the billet in 6 pieces.
Surface grinding the 6 pieces.
Milling a 45 degree angle on the pieces.
Milling
That's it for today. The next step is forging the torsion damascus. I'll put the torsion damascus in between these pieces.
Here I'm creating a new stack for the torsion damascus that will be inserted in between the line-damascus.
Twisted bar
Twisted bar
The pattern. I'm shooting for stars, they are not visible yet, they are located in the middle of the bars.
...
Torsion damascus
Torsion damascus
A few of the pieces that will go into the knife.
The pieces forgewelded together. Unfortunately there were some bad spots in between the welds :-( This attempt has failed. I have learned quite a few things, the whole billet had to be thicker so I would have had more heat energy and longer forging time together with more mass to hammer it down so I could strengthen the welds.
I decided to cut the failed bar up into pieces, I added some damascus I had laying around, started forging it down, and twisted the whole thing.
Hammering it into shape.
Hammering it into shape.
Here I'm taking over the blank for the 9" chef..
Bandsaw.
Surface grinding the ladder damascus blade.
Surface grinding the ladder damascus blade.
Three blades roughly into shape.
A blade hanging on a hook, ready for saltbath heat treatment. I will be refining the crystals by austenitizing in a atmosphere controlled gas fired forge, and quenching in hot salt to form lower pearlite. I cycle three times for each blade so the grains are refined six times. Smaller grains give toughness to the blade so the edge retention will increase. I've written more about this in this metallurgy article.
The austenitizing forge.
Heat treatment setup.
A shot from above.
The control panel of the old Degussa salt bath.
A hot blade immersed in the molten salt. It is great to watch the heat dissipating.
A hot blade immersed in the molten salt. It is great to watch the heat dissipating.
...
The three blades with super small grains, probably ASTM grain size 12.
Some blades warped a bit during the heat treatment. In this jig they will be put into the soft annealing oven in order to straighten and form spheroidized carbides so the blades are easier to grind. The blades are wrapped in stainless foil to protect against de-carburization and scaling.
The annealing oven.

Here I'm sawing the forging into shape.
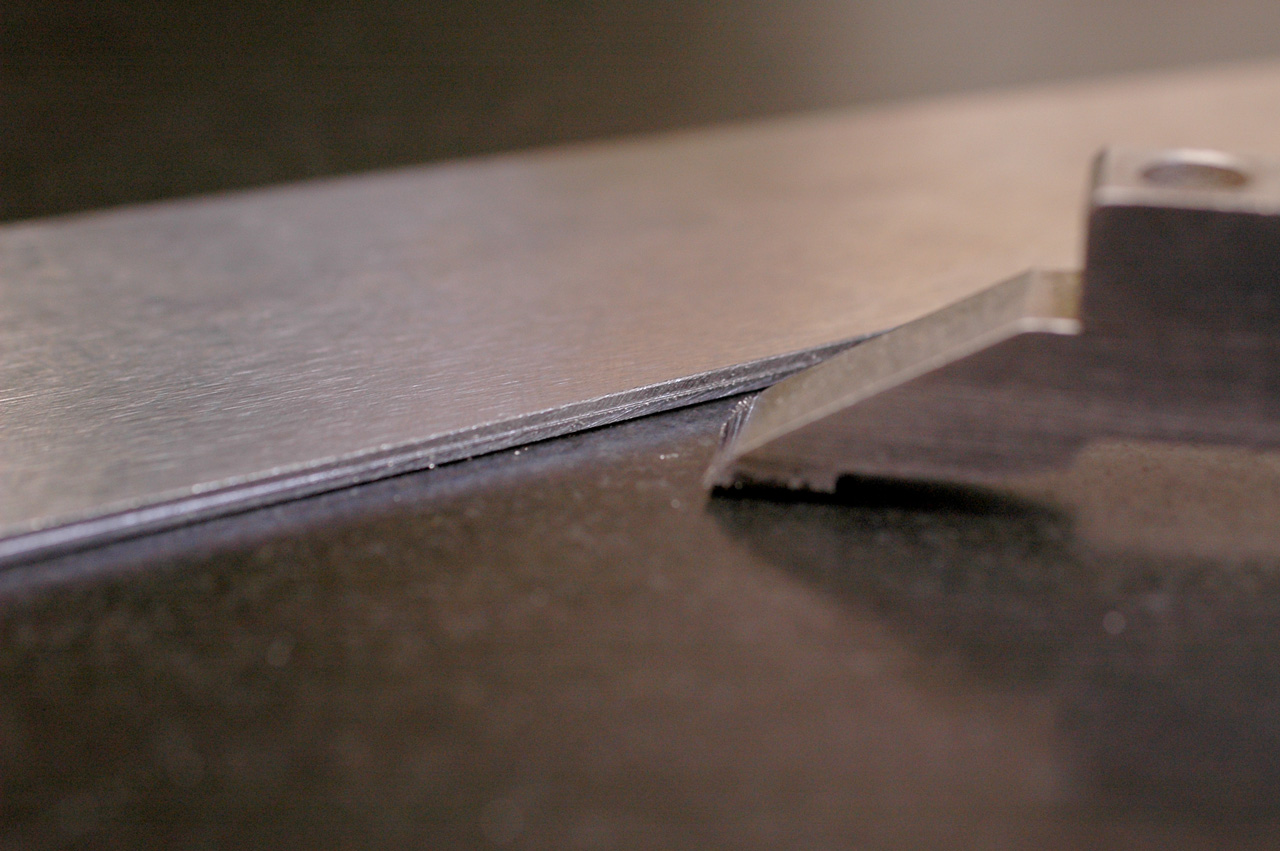
A centerline is scribed.
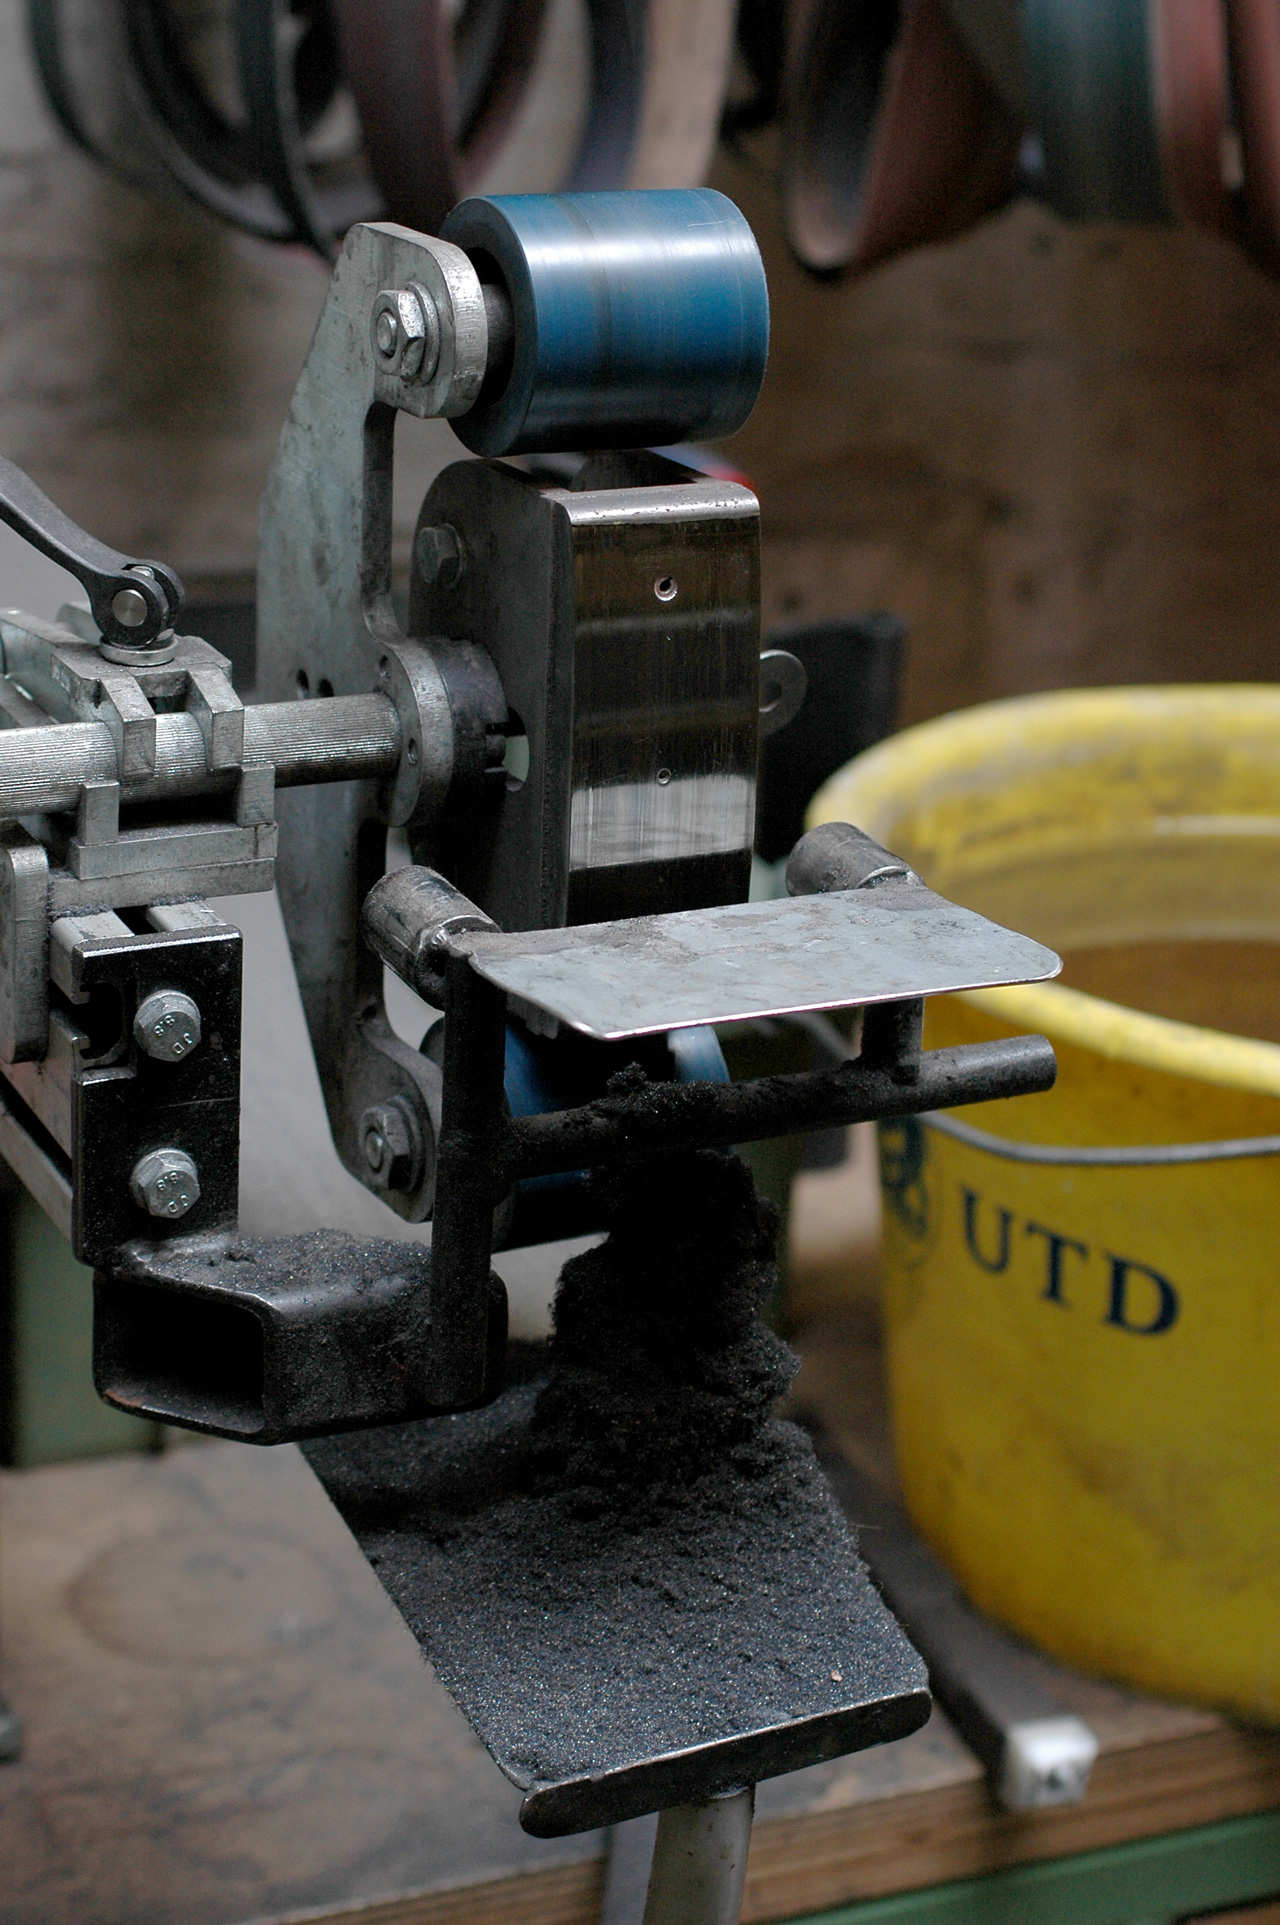
The grinding has begun.
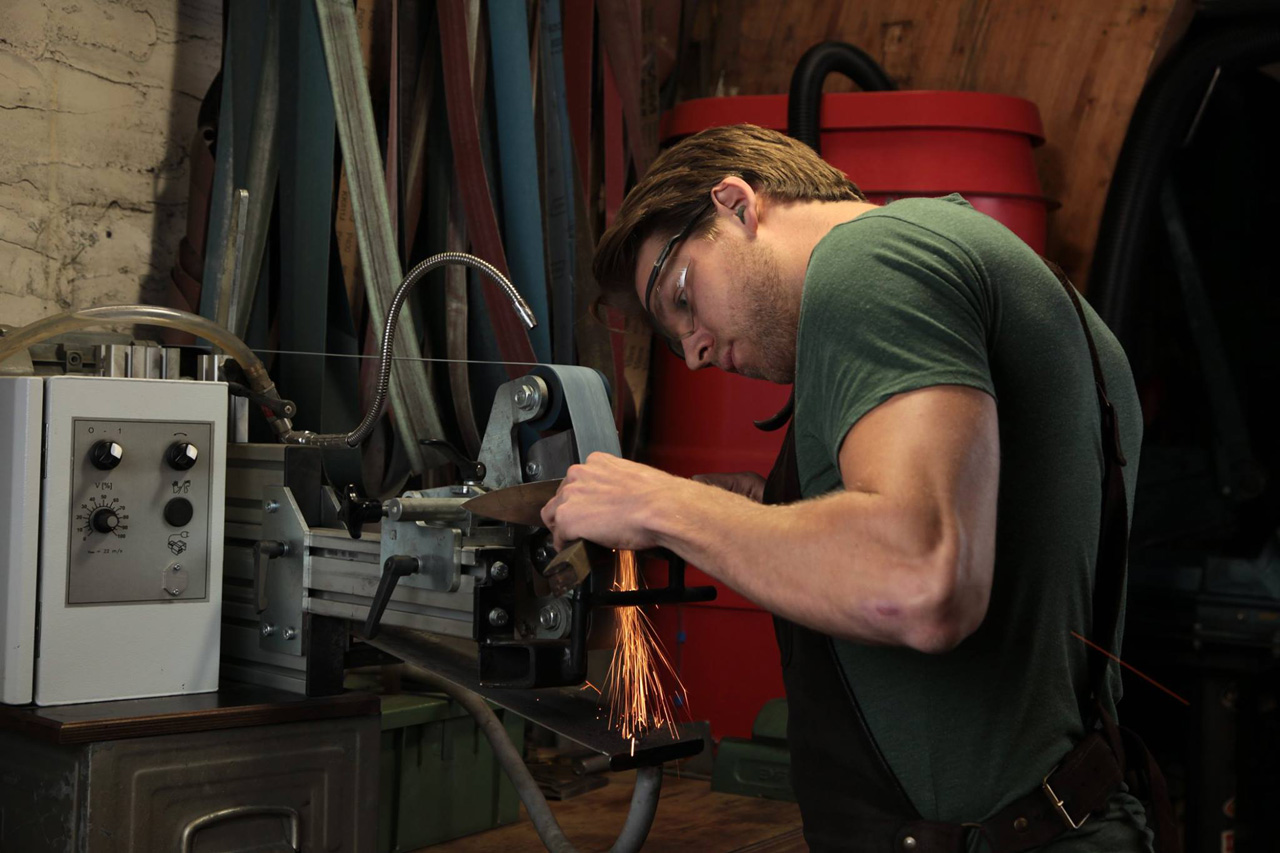
Grinding the blade.

The initial grind.
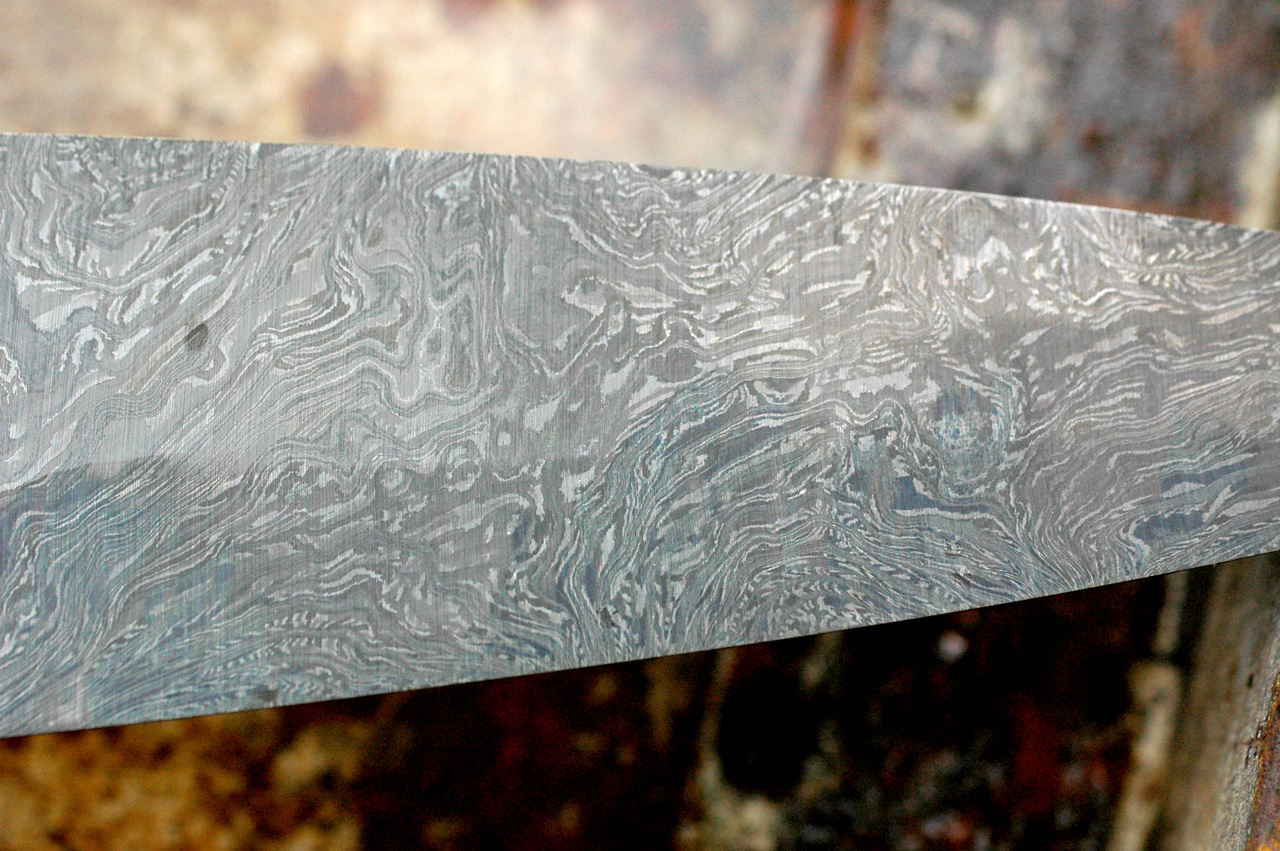
A quick and dirty etch to check the pattern on the "ratjetoe damascus".
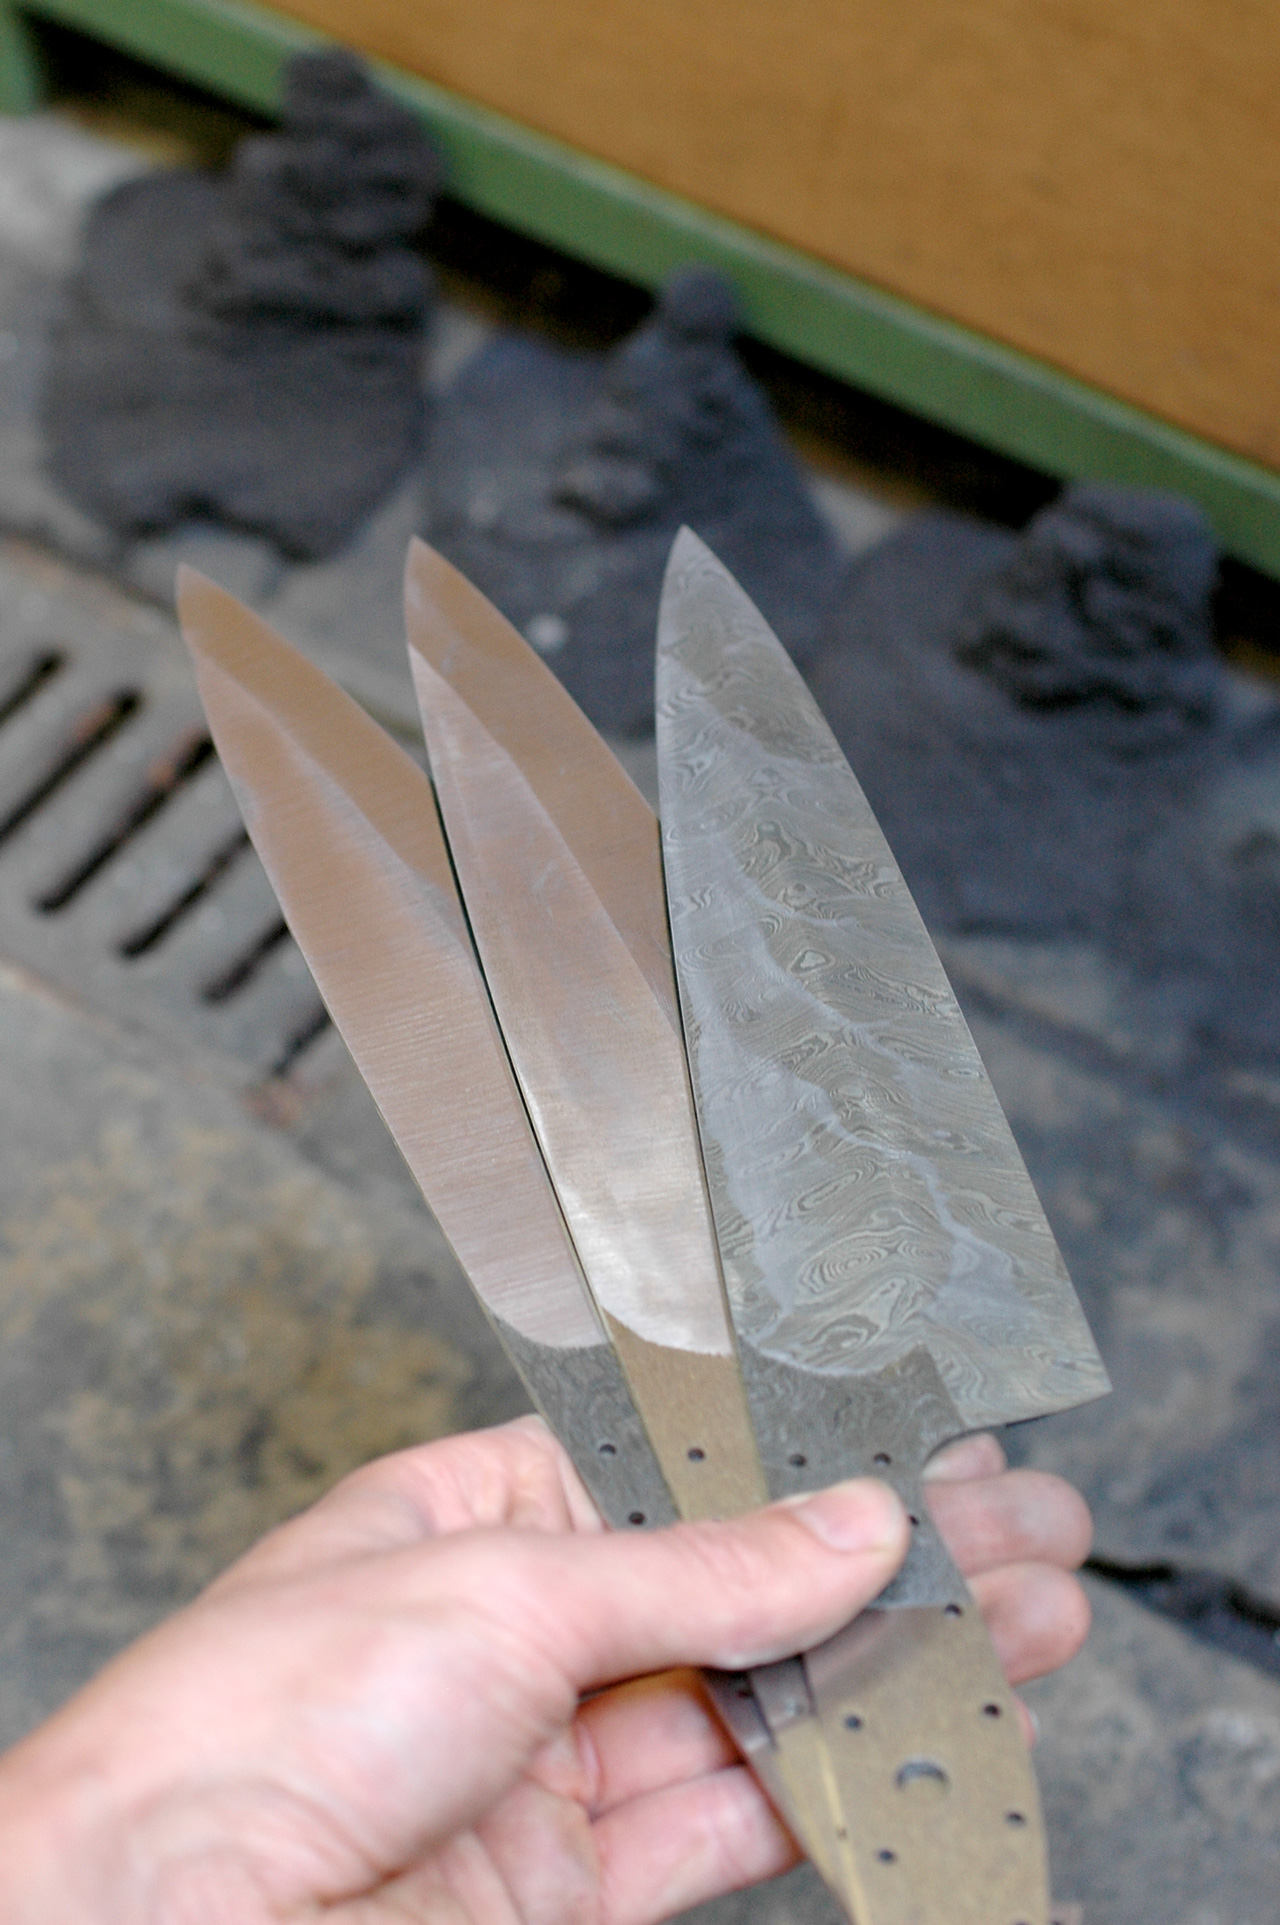
Three blades ground. Unfortunately I made a big mistake. I wasn't paying enough attention to the desired edge thickness. I like to grind to 0,7mm behind the edge prior to hardening. Somehow I managed to grind all three knives way too thin, 0,3mm behind the edge. I can't harden these blades anymore and they can be scrapped. 4 weeks of hard labour down the drain. It took me a while to recover, but I started all over. So from here on I start again with forging damascus. I will never make this mistake again :p
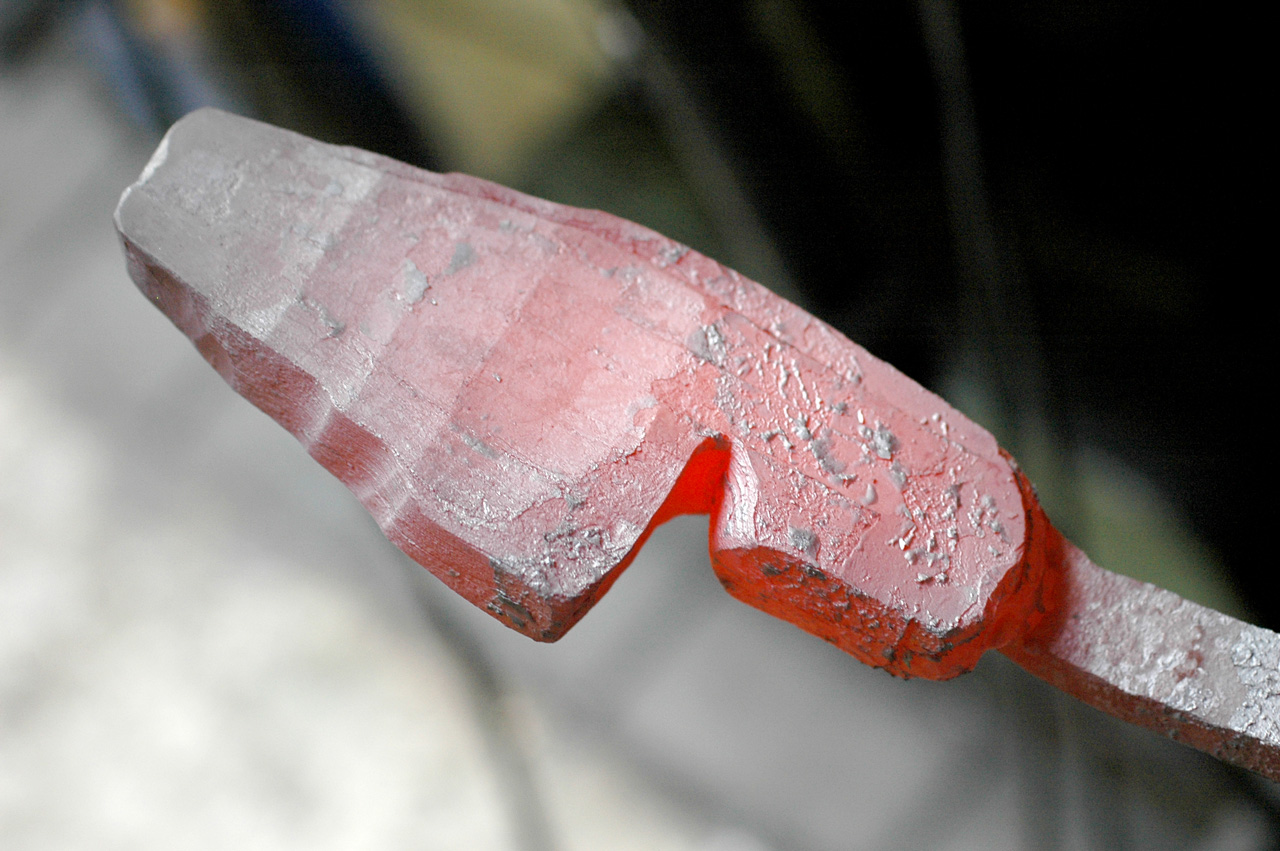
After forging many layers of damascus, here I'm starting to shape the steel into a knife.
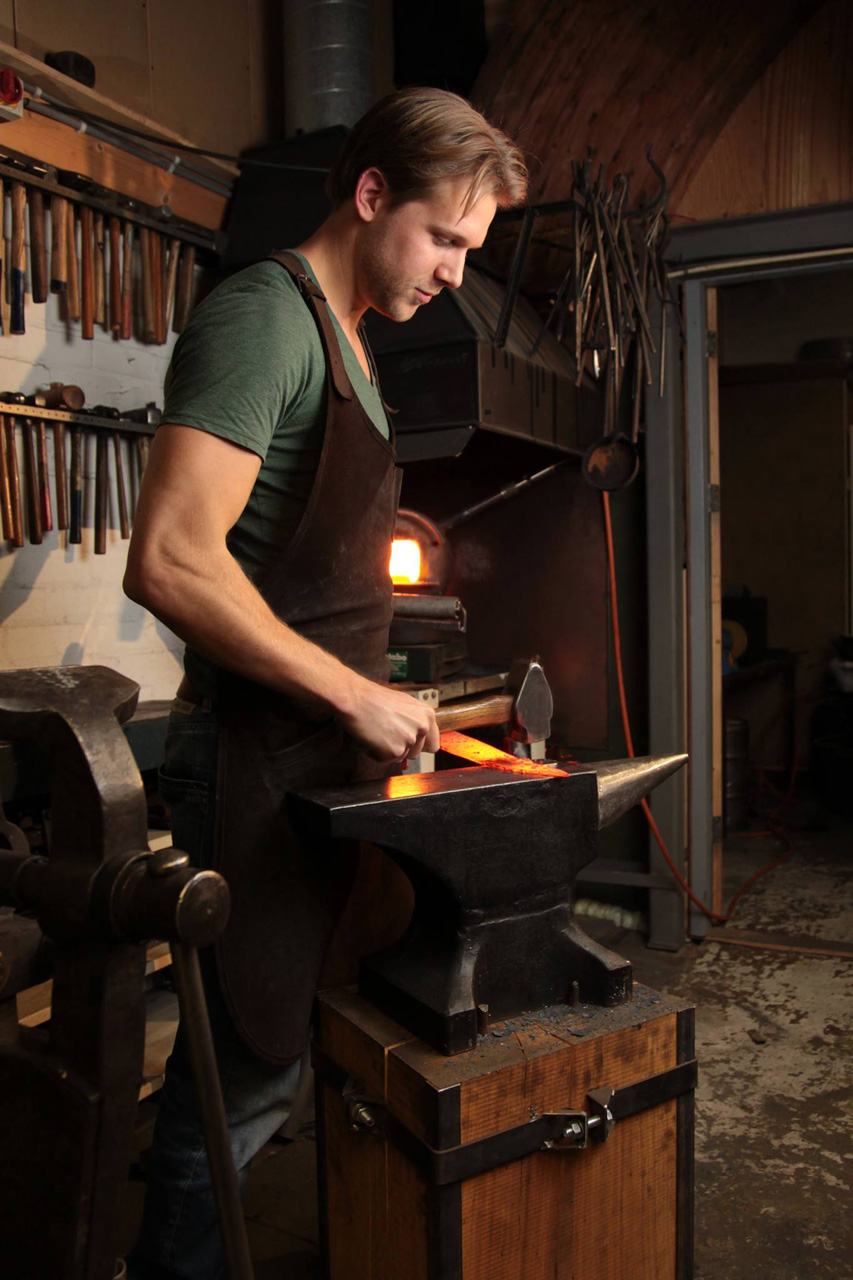
Forging.
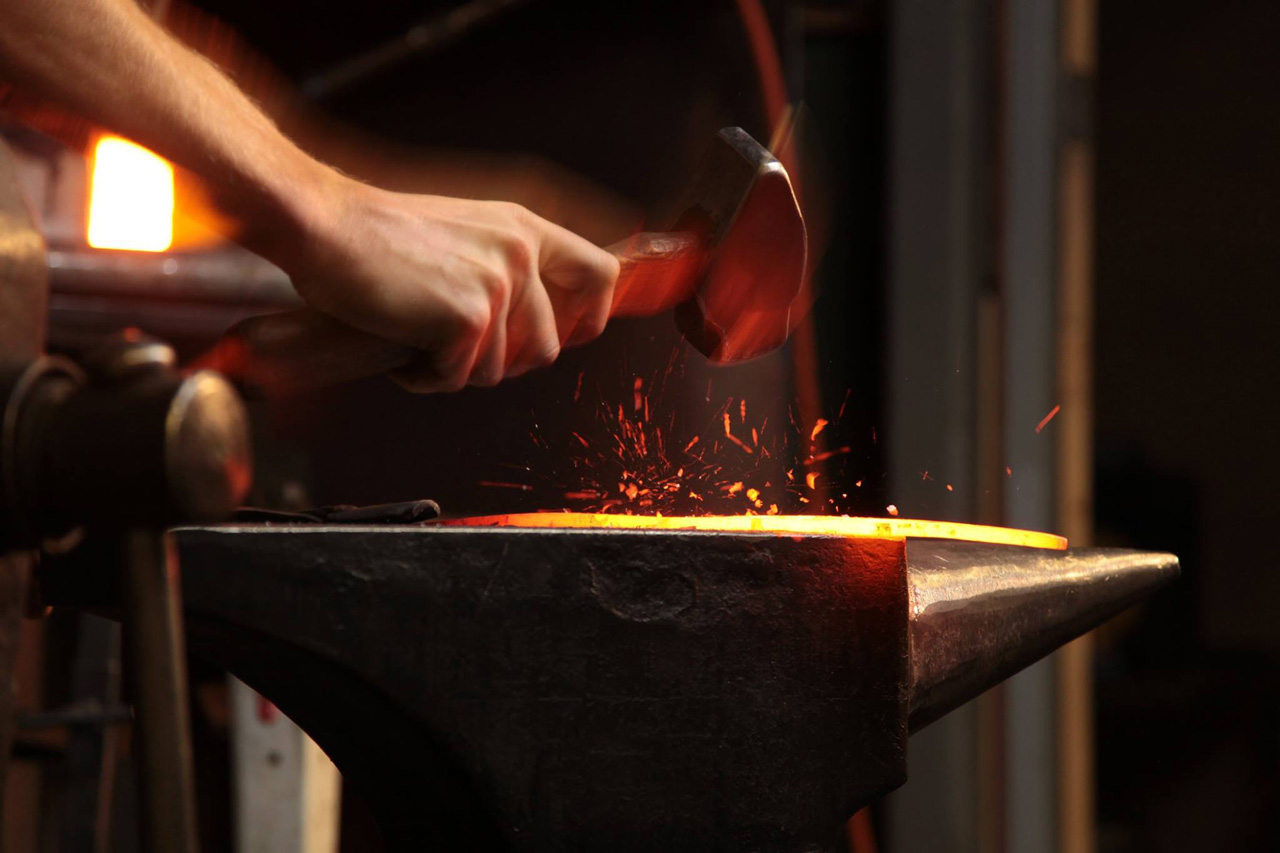
Forging.
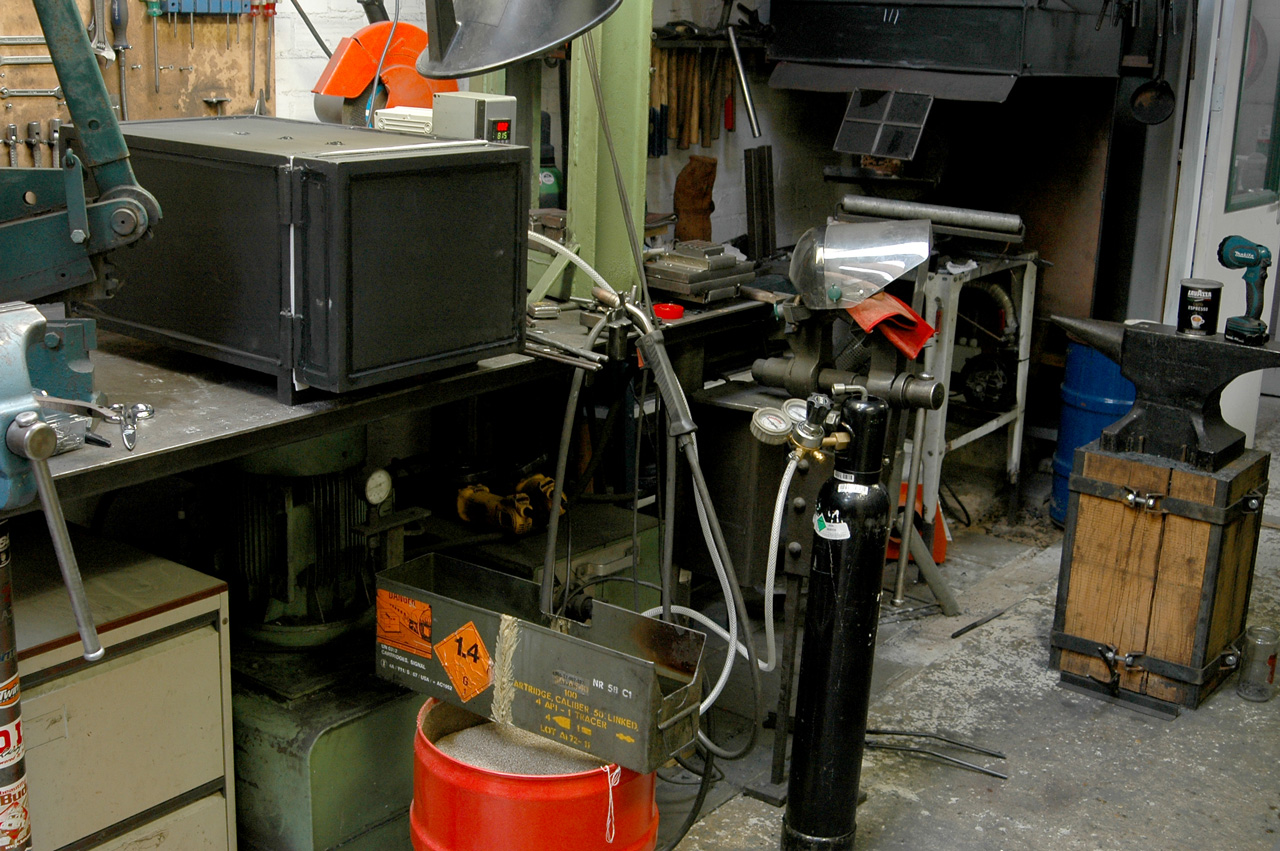
I take a few bigger steps here, I haven't made too many pictures since it is the same process I showed earlier. Anyway, here is the hardening process, one of my favorites. It is what really makes a quality blade. After the initial saltpot crystal refining heat treatment the steel's crystals are very small at ASTM grain size 10. This makes sure the blade (and especially the cutting edge) gets tough. In this picture, the blades will be brought up to 815 degrees Celsius so austenite will be formed. I inject nitrogen into the heat treating furnace so the oxygen will be removed and there will be less decarburization and oxidation of the steel. Even though I use this method, I still need to remove a few tenth's of a millimeter of the cutting edge with a diamond coated abrasive to get to material that has full hardness. After quenching this damascus reaches 64,5HRc.
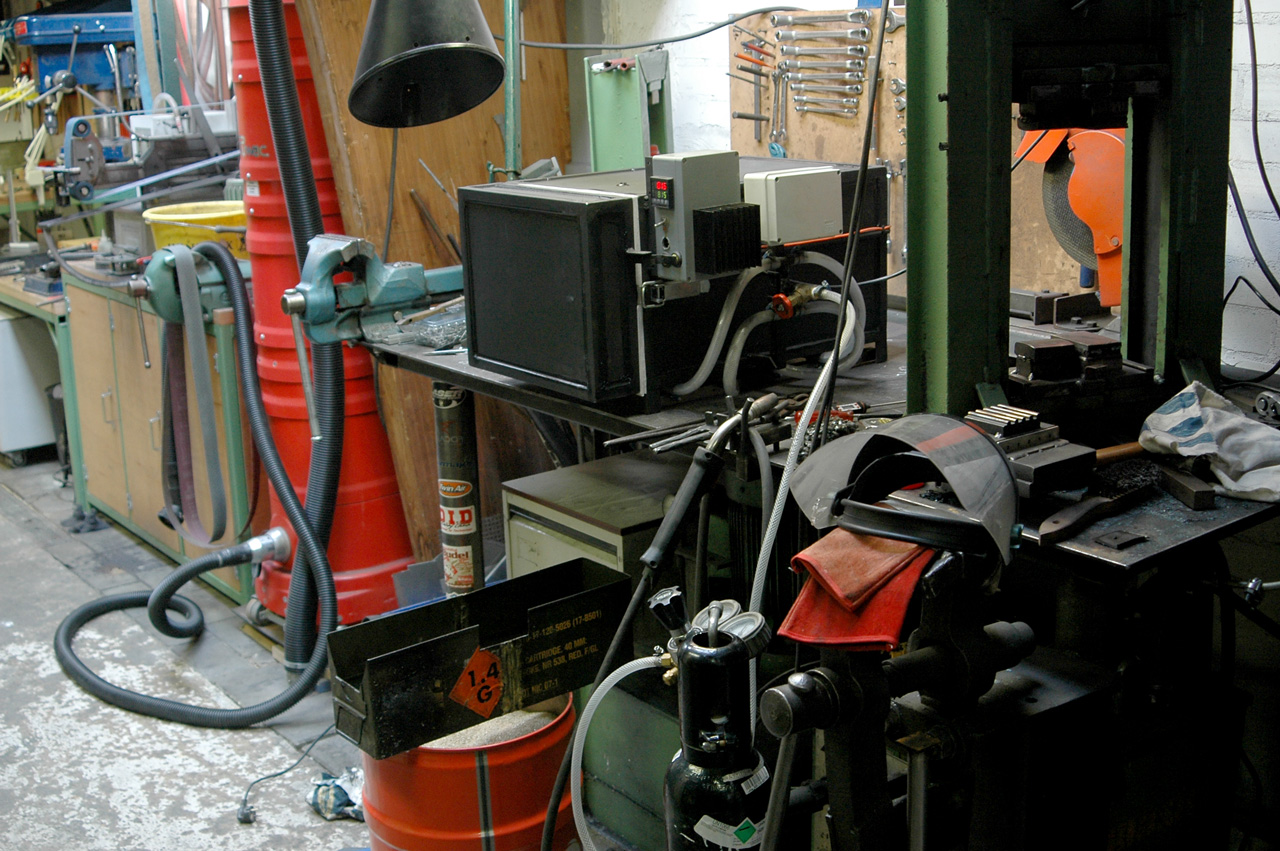
Heat treating setup.
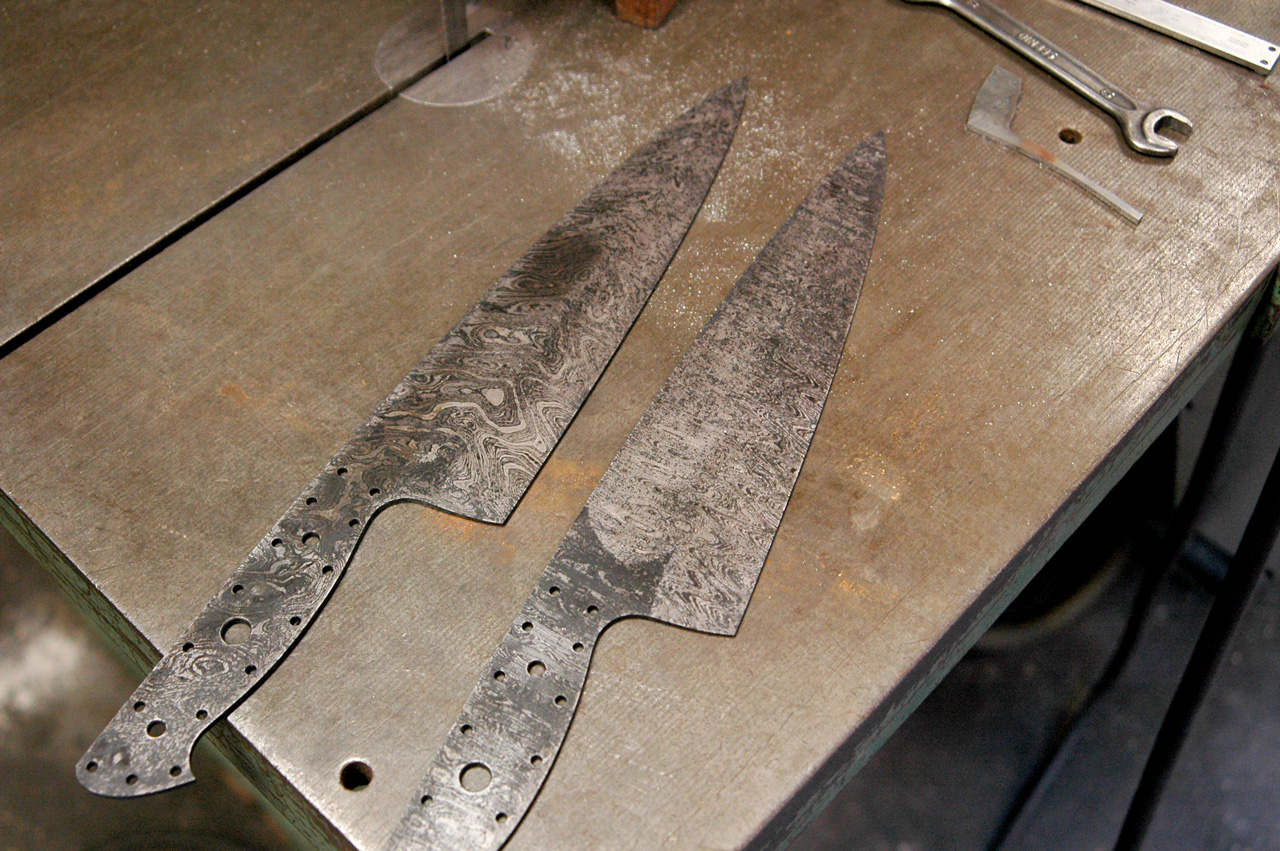
Straight from the quench.
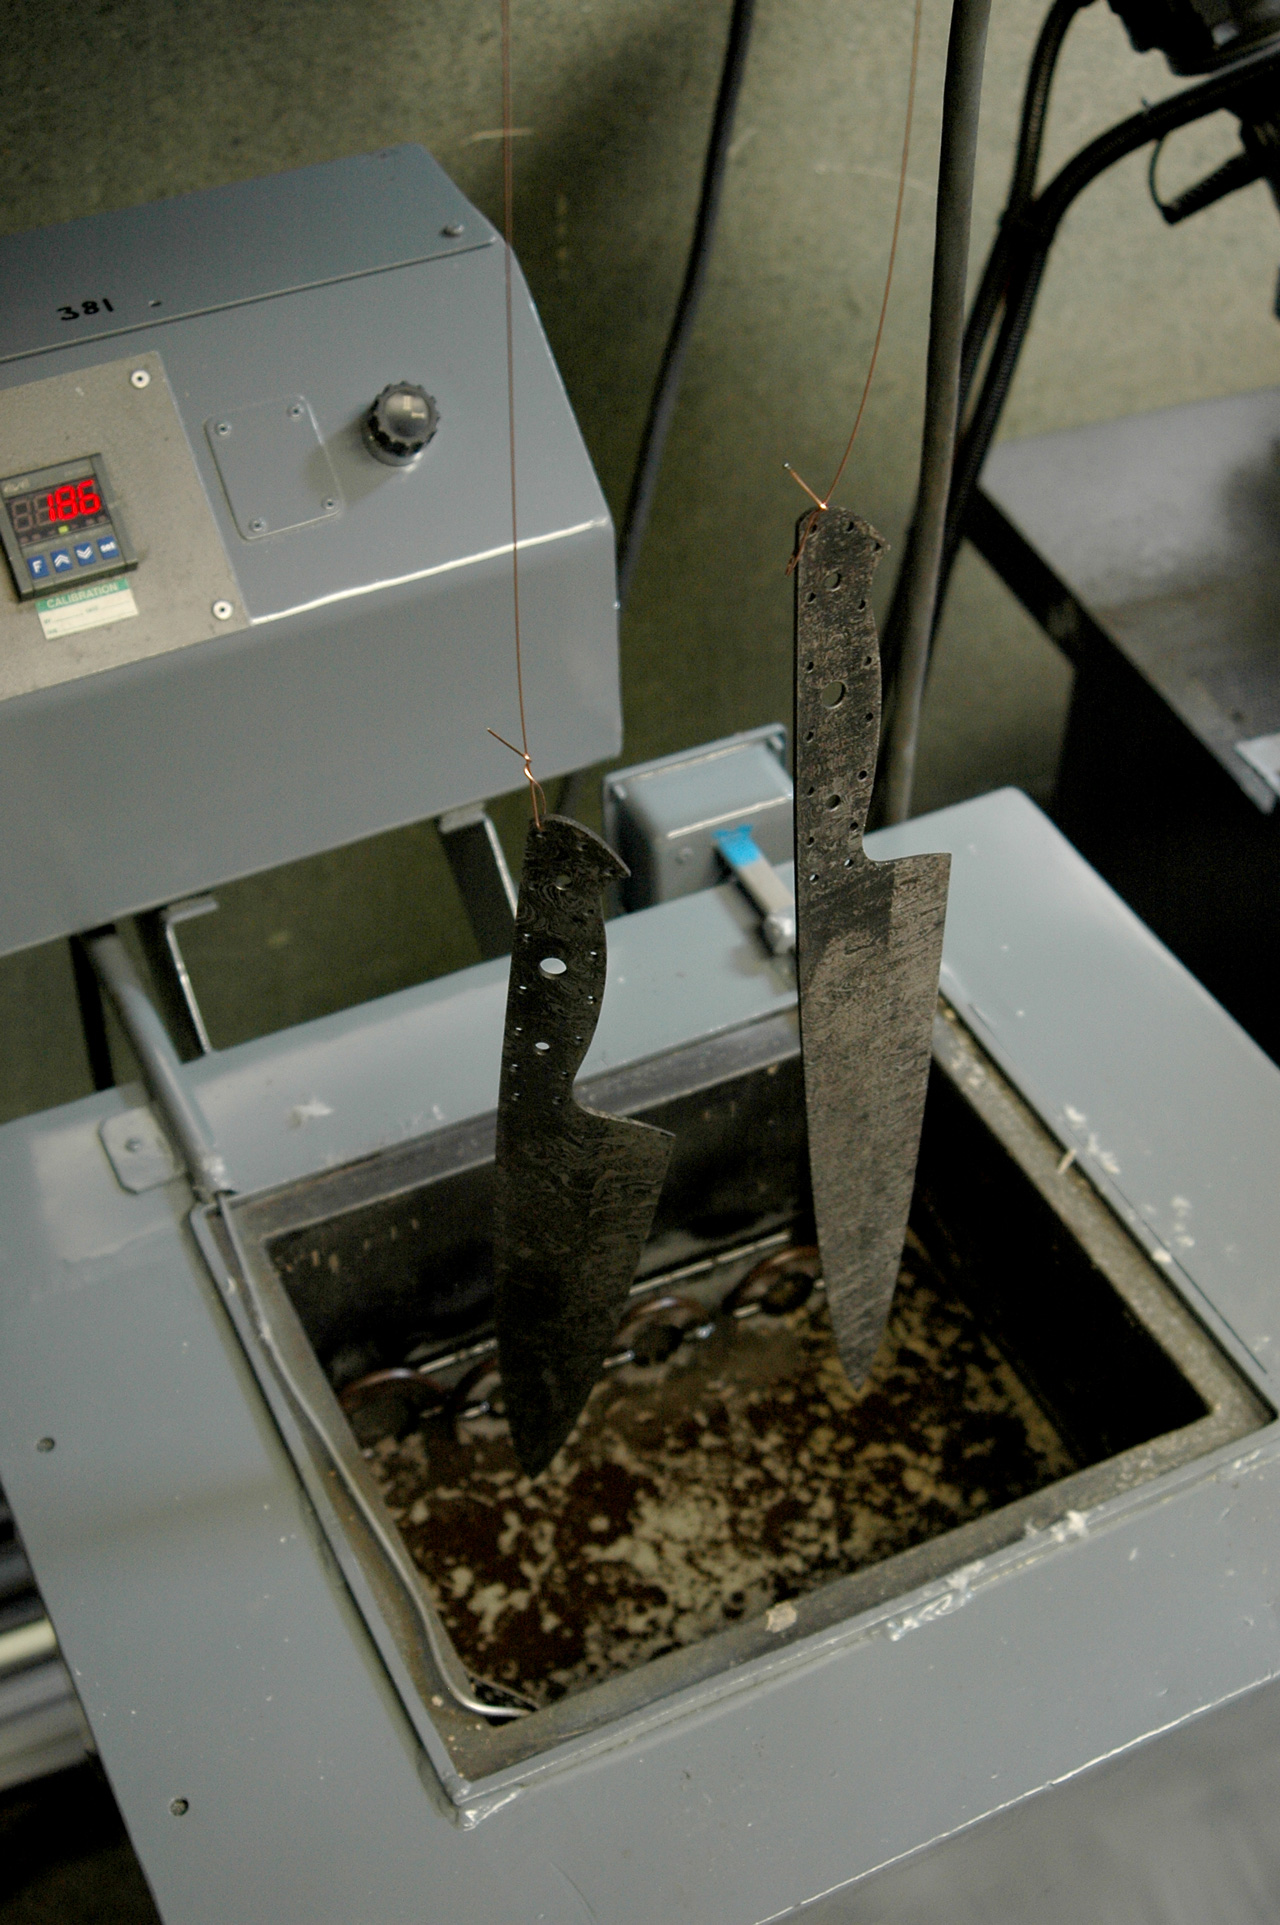
After the quench the blades will be submerged into 185 degrees Celsius molten salt. For kitchen knives, the tempering temperature is crucial and should not exceed 185 degrees. This salt bath has a 1 degree deviation so I can make sure the right temperature will be obtained. The final hardness after two tempering cycles will be 61HRc.
That's it for today. Tomorrow I will proceed with the grinding process.
Thank you guys! Here is some more!
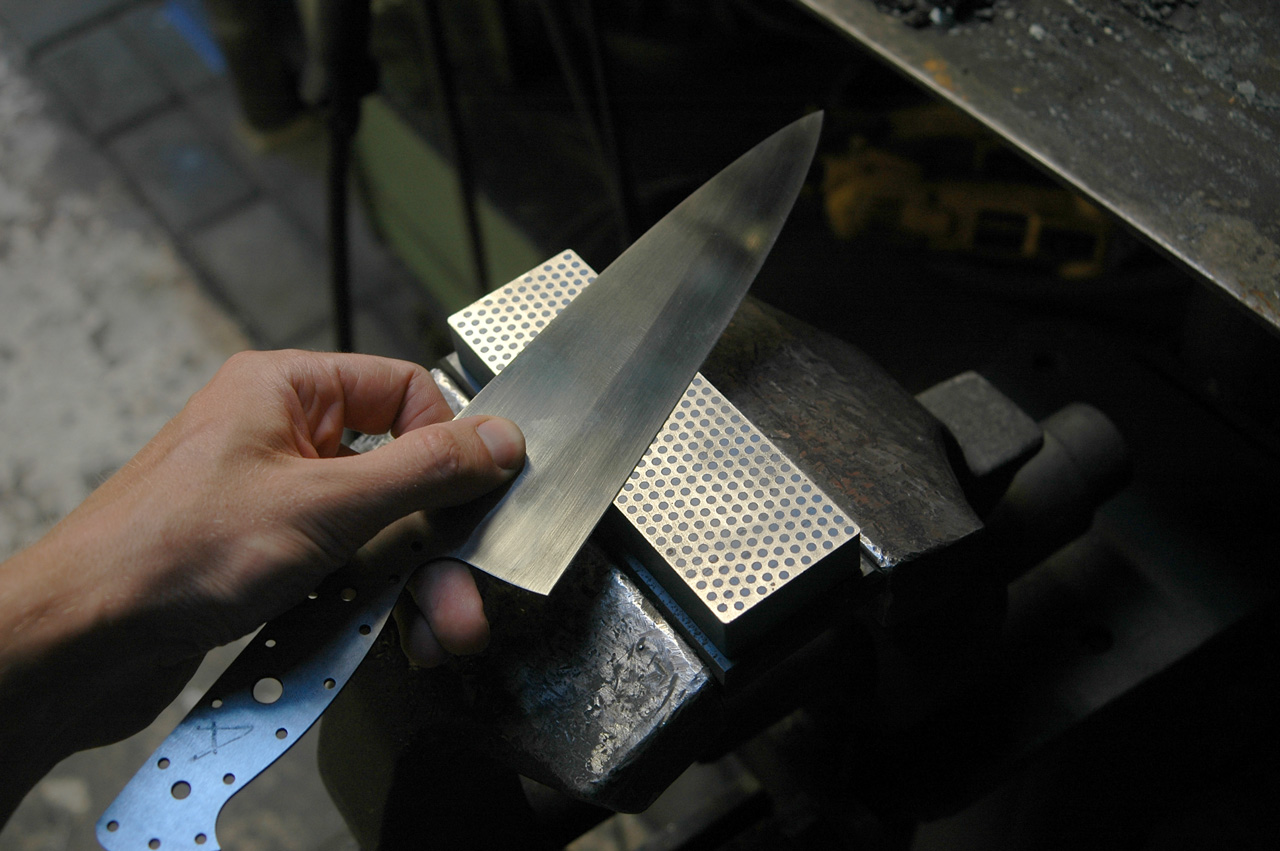
After the heat treatment I continued grinding. When I think I have the desired geometry for excellent cutting, I do a cutting test. Here is a quick sharpening on a diamond plate.
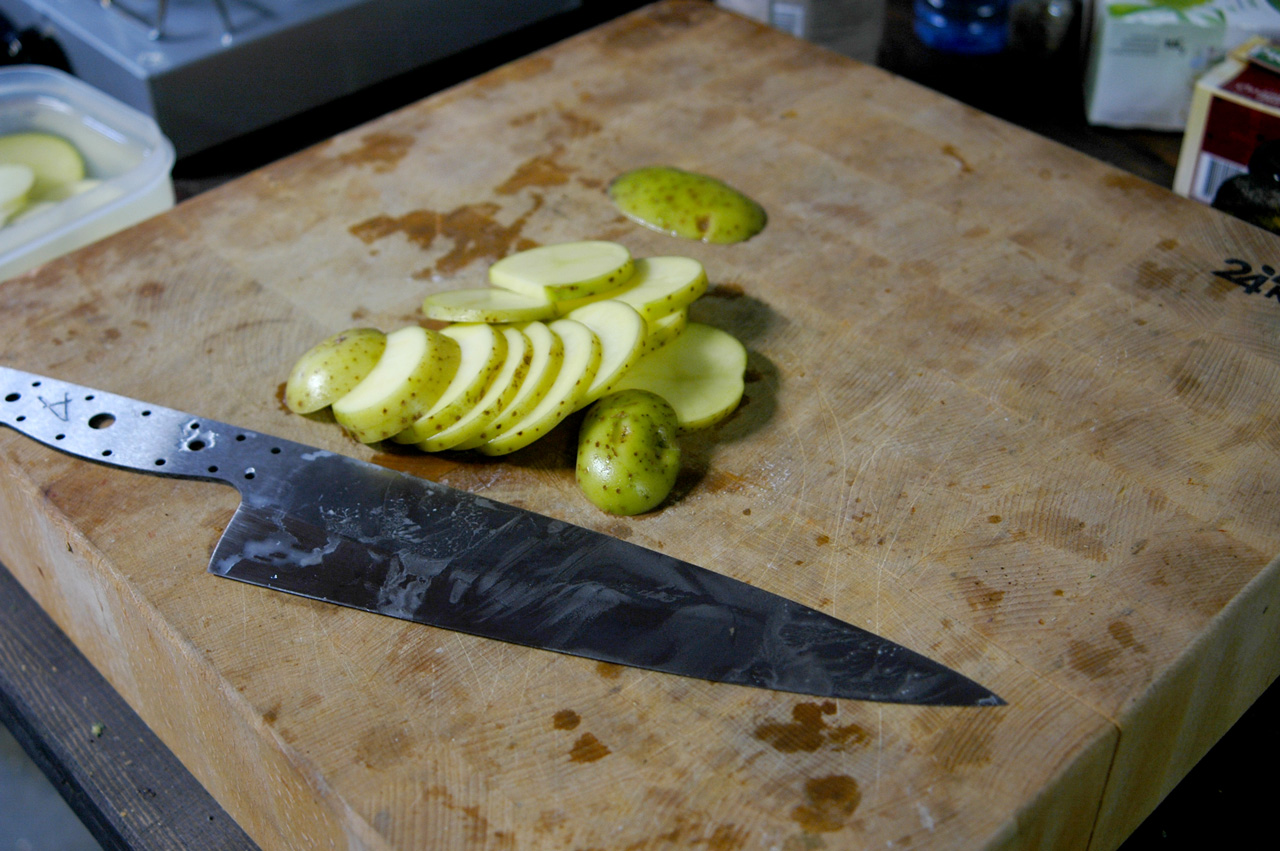
Potatoes are always very challenging when it comes to food release. This knife did a very good job on them, so the geometry is OK. It cuts very light and easy. It always gives me the chills.
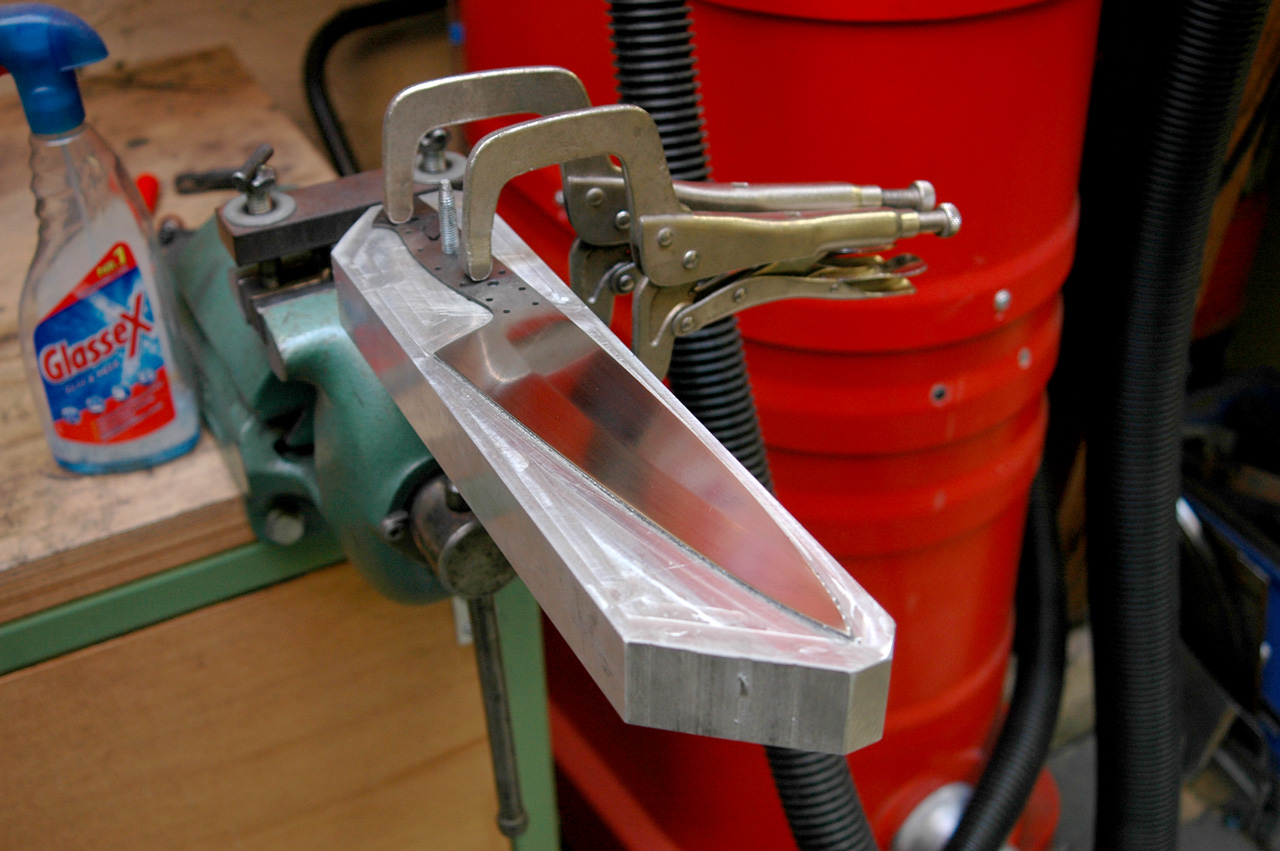
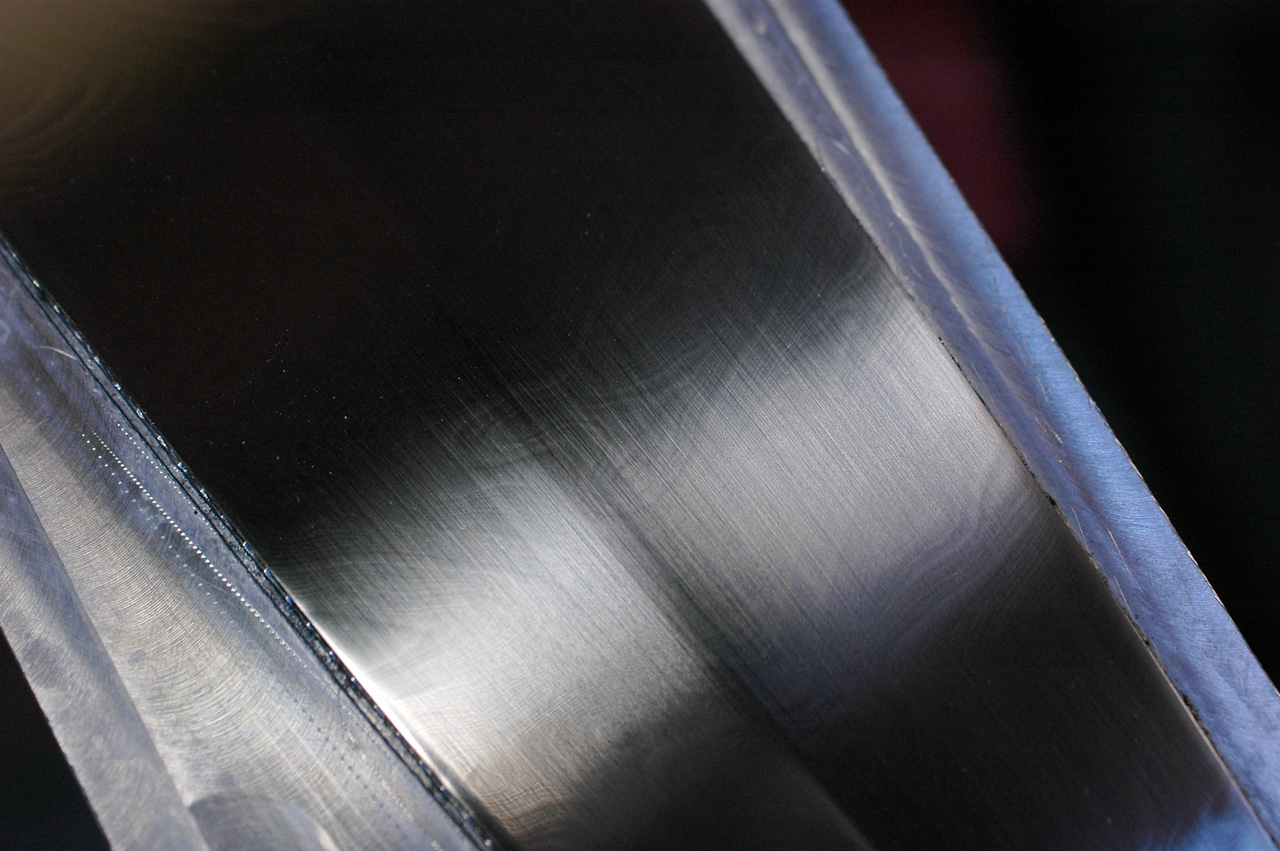
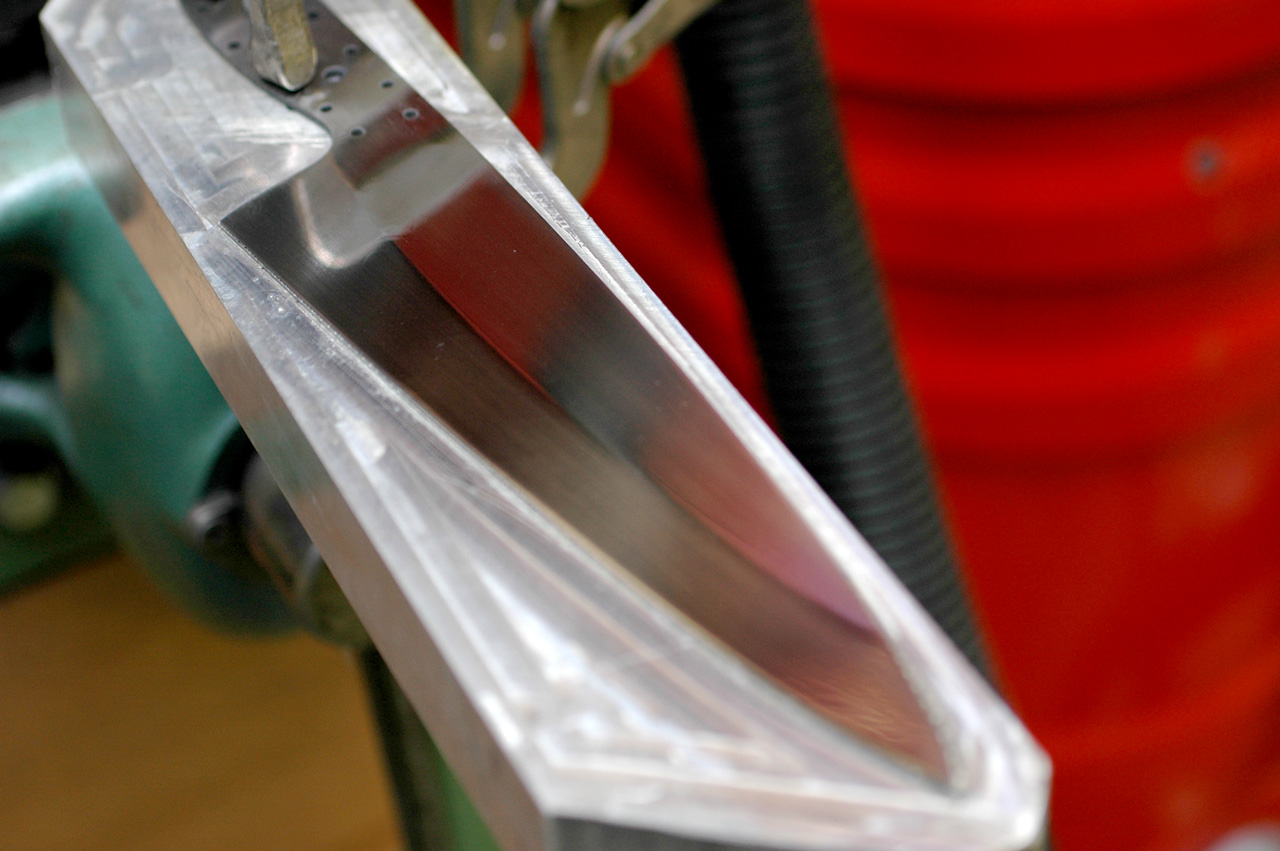
Hand polishing of the blade to P2000. The aluminum plate is actually a CNC milled contra mold of the blade, it makes sure I don't deform the delicate blade when applying pressure while polishing. It also speeds up the polishing process since all the polishing energy goes into abrading the blade instead of deforming it.
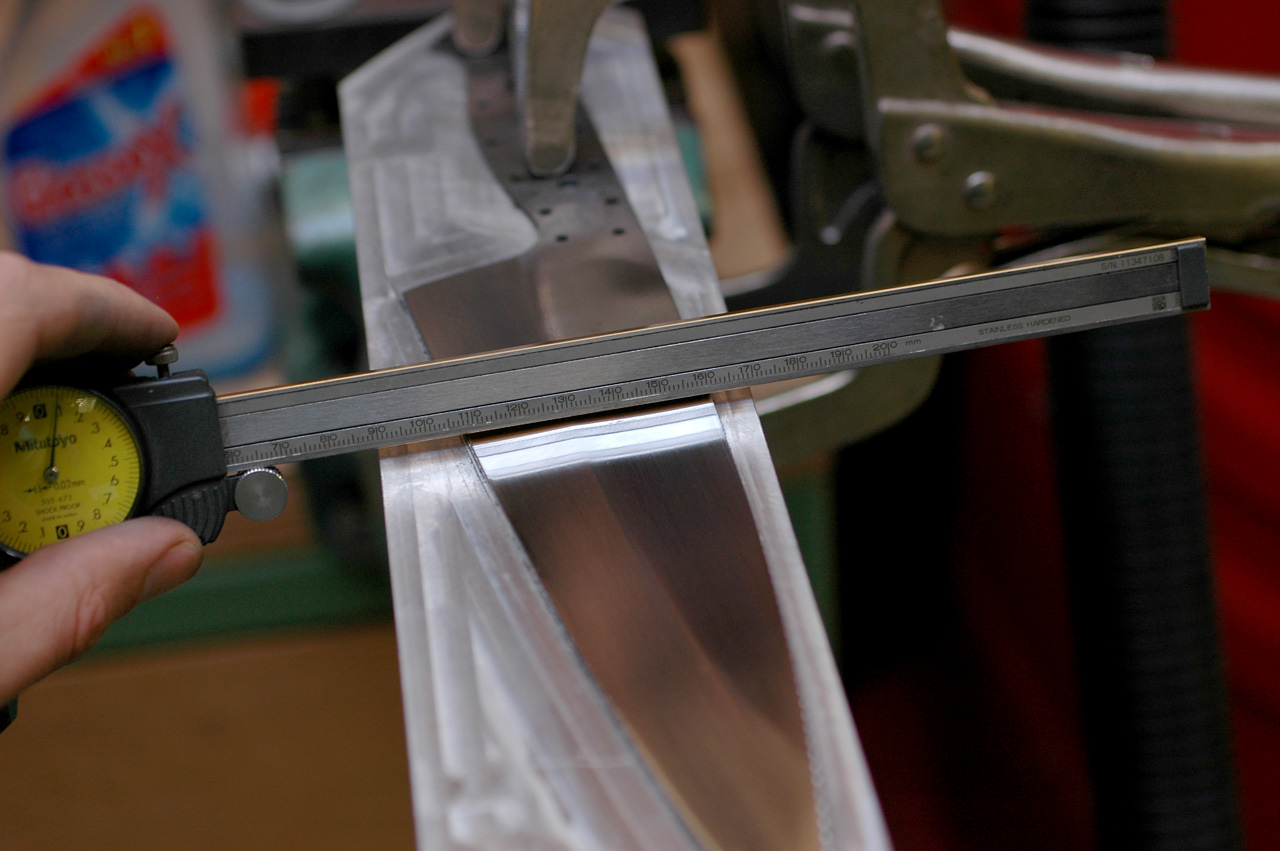
My knives have a double hollow geometry with a ridge in the middle which pushes of food.
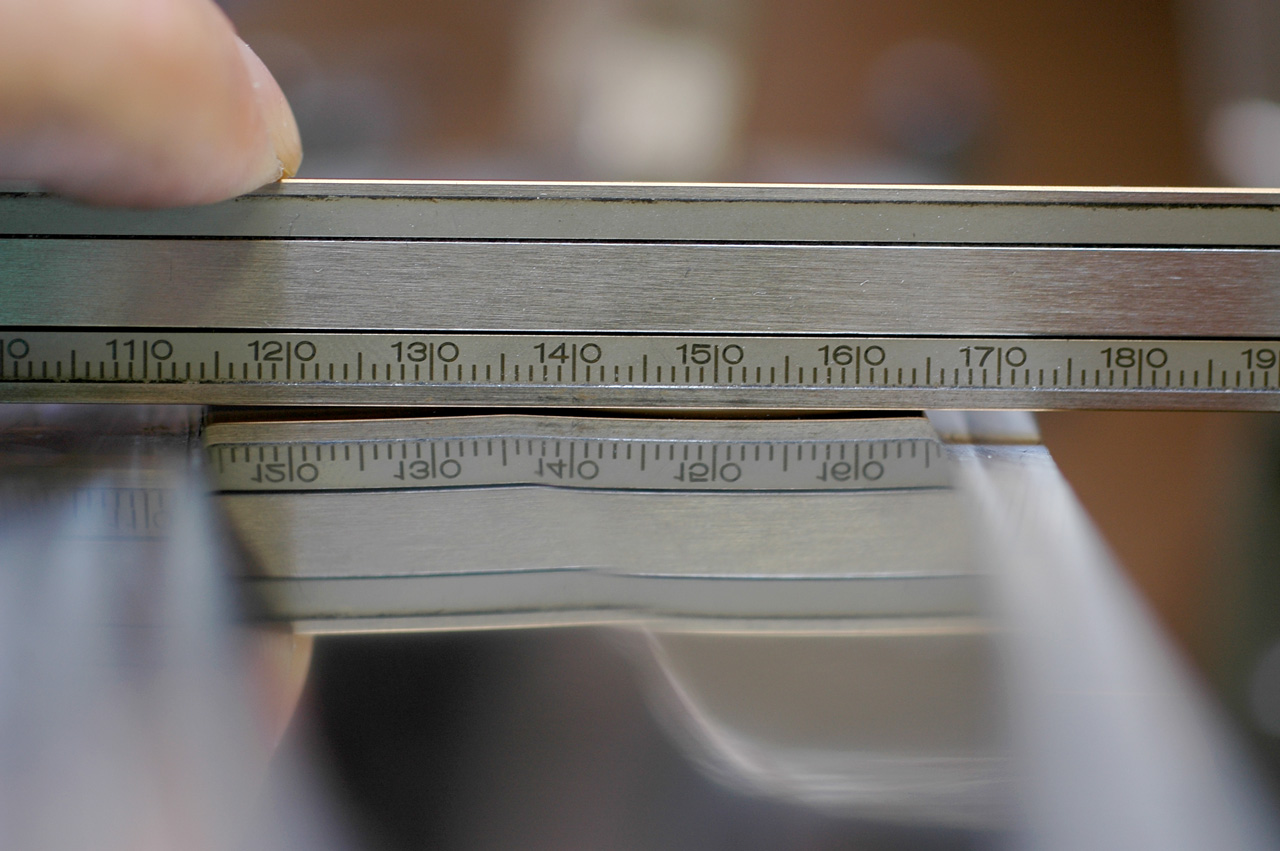
Double hollow geometry. When going horizontally into an onion in order to cut "brunoise", the very thin material behind the edge makes it very easy to do so. Also, over sharpening life, the blade remains thin and there is no re-profiling needed. The extra hollow section at the spine of the blade makes the food release better since food has less tendency to stick to hollow faces.
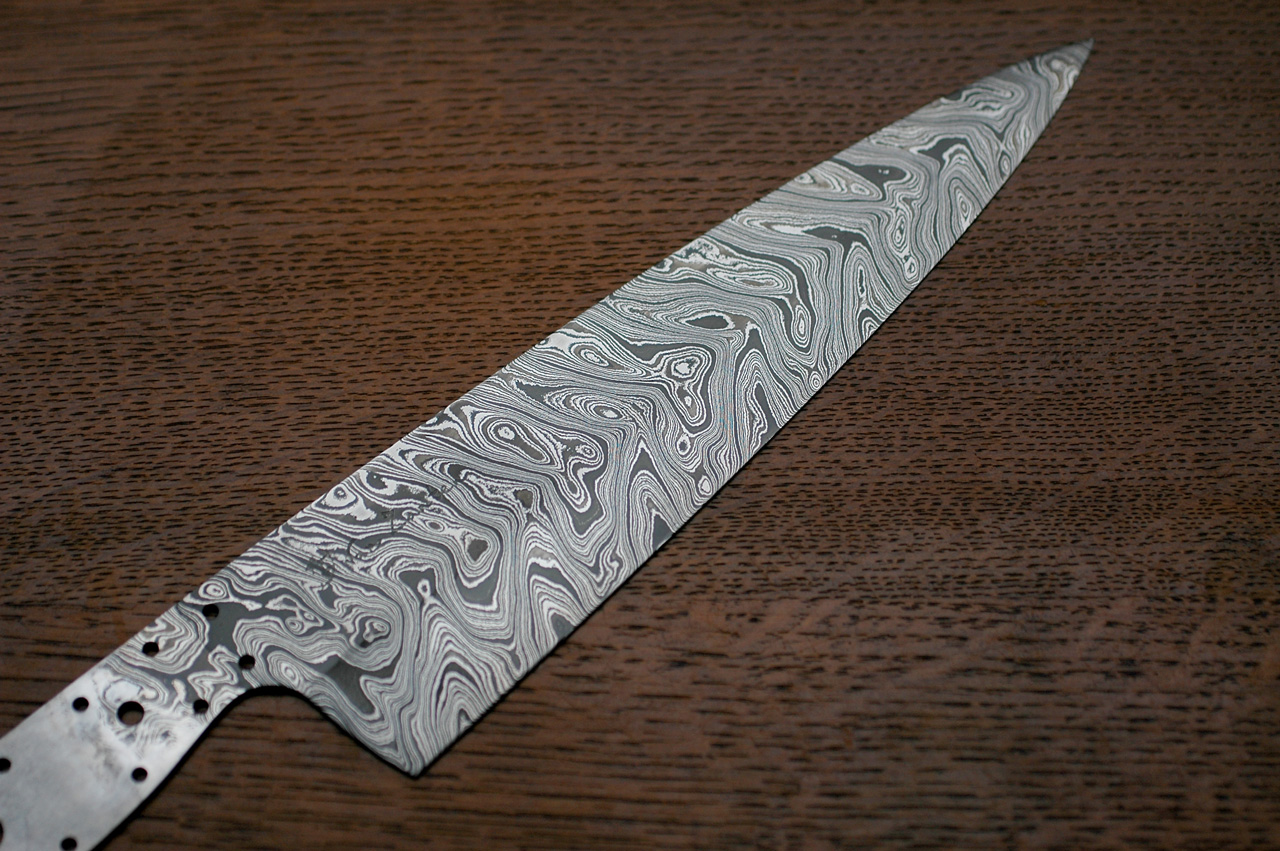
The first blade after etching. This pattern is my new type; "random chevron".

Grinding the tapered tang.
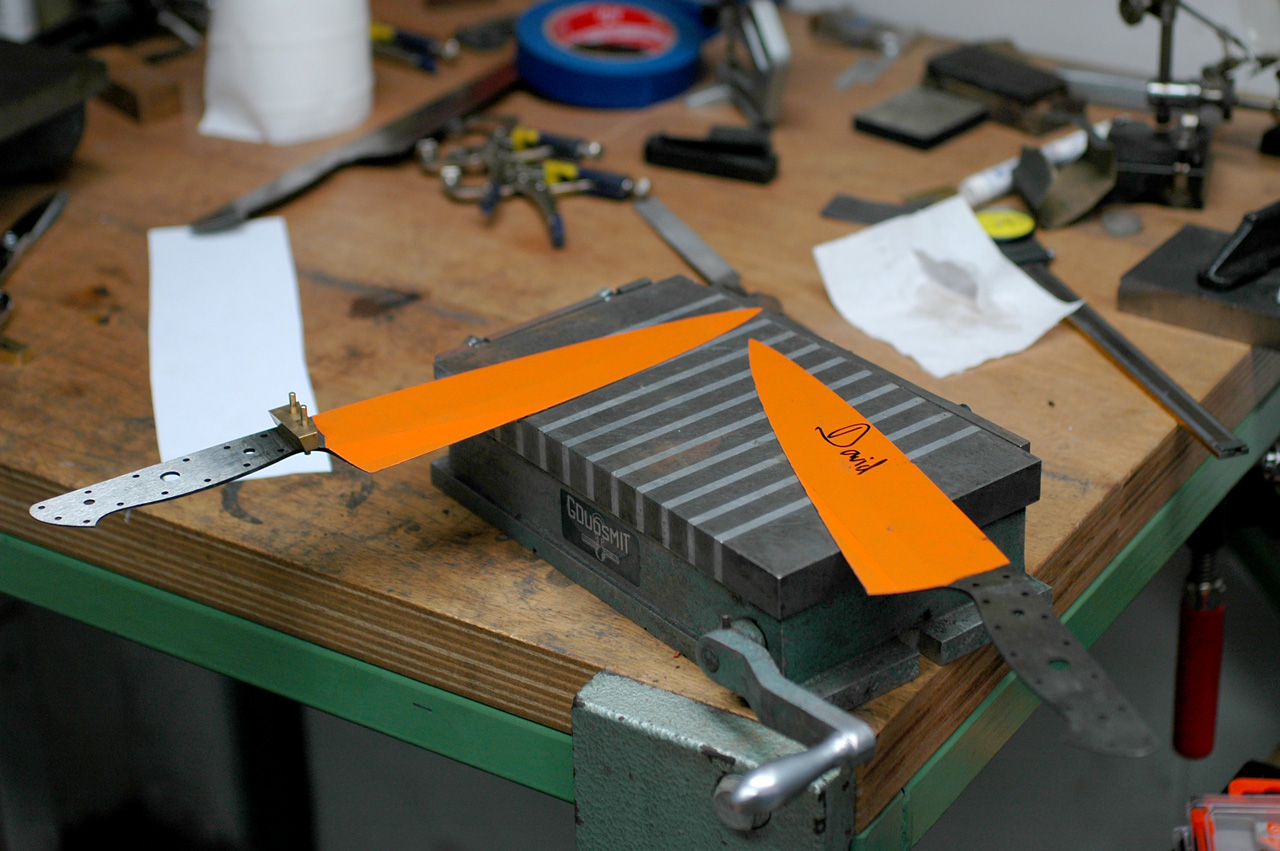
Fitting the bolsters.
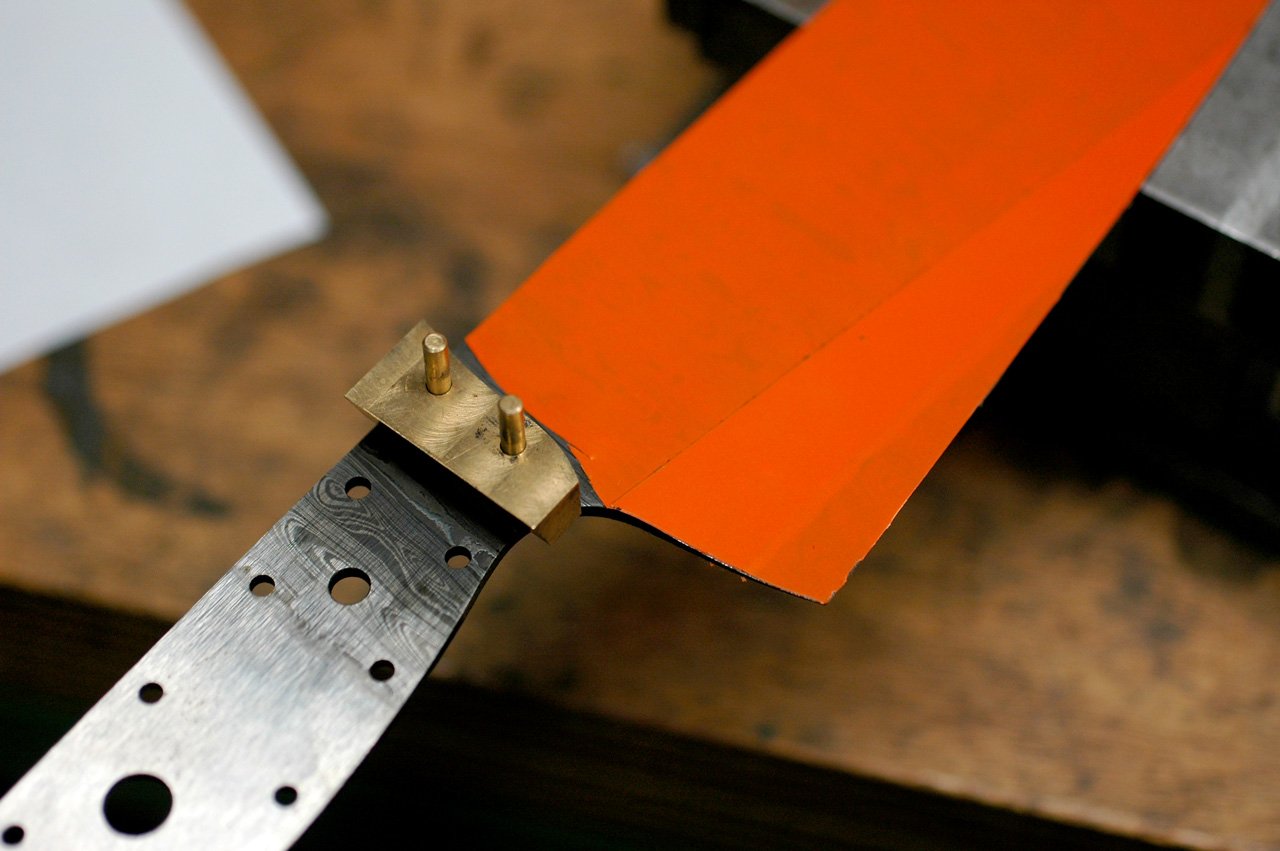
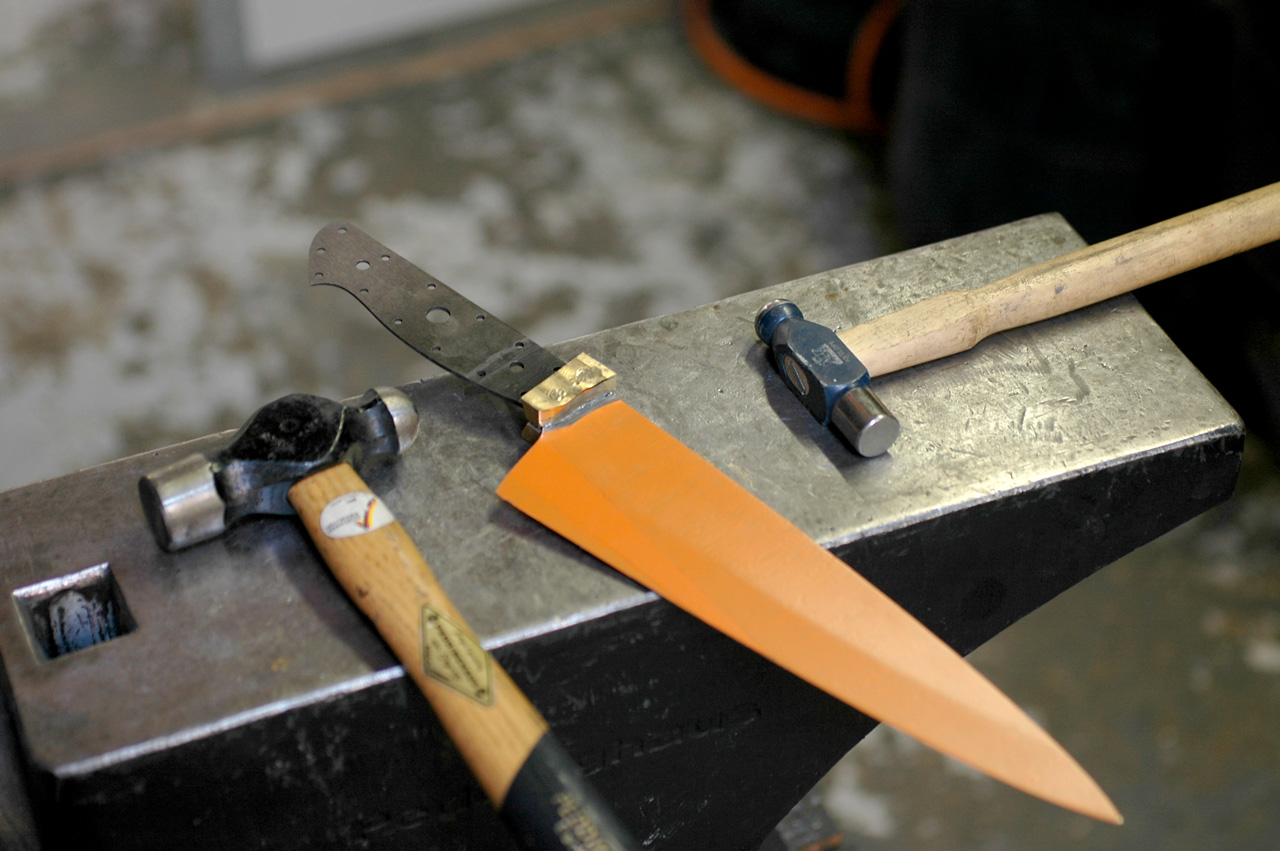
Peening the bolsters with hammer and anvil.
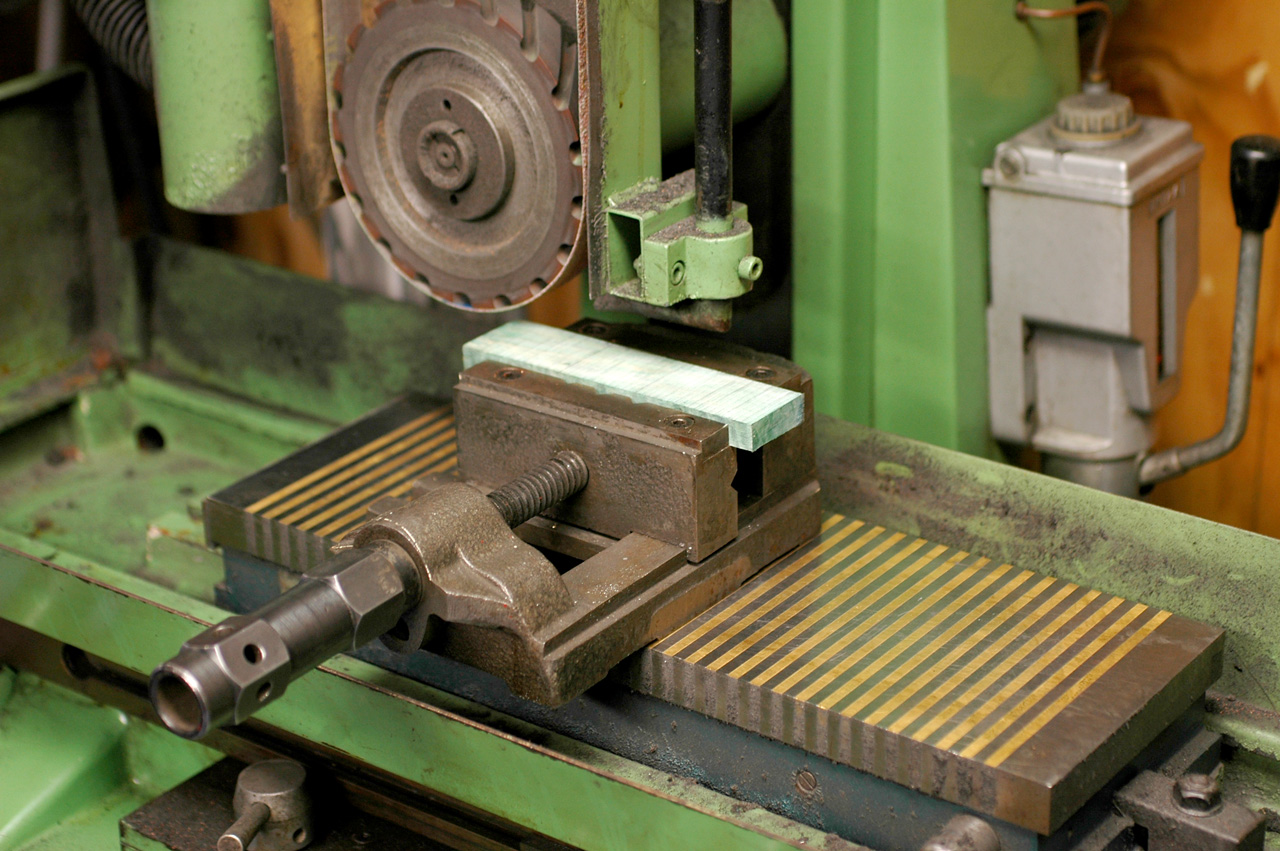
Flattening the wood for the handle. This is green maple burl.
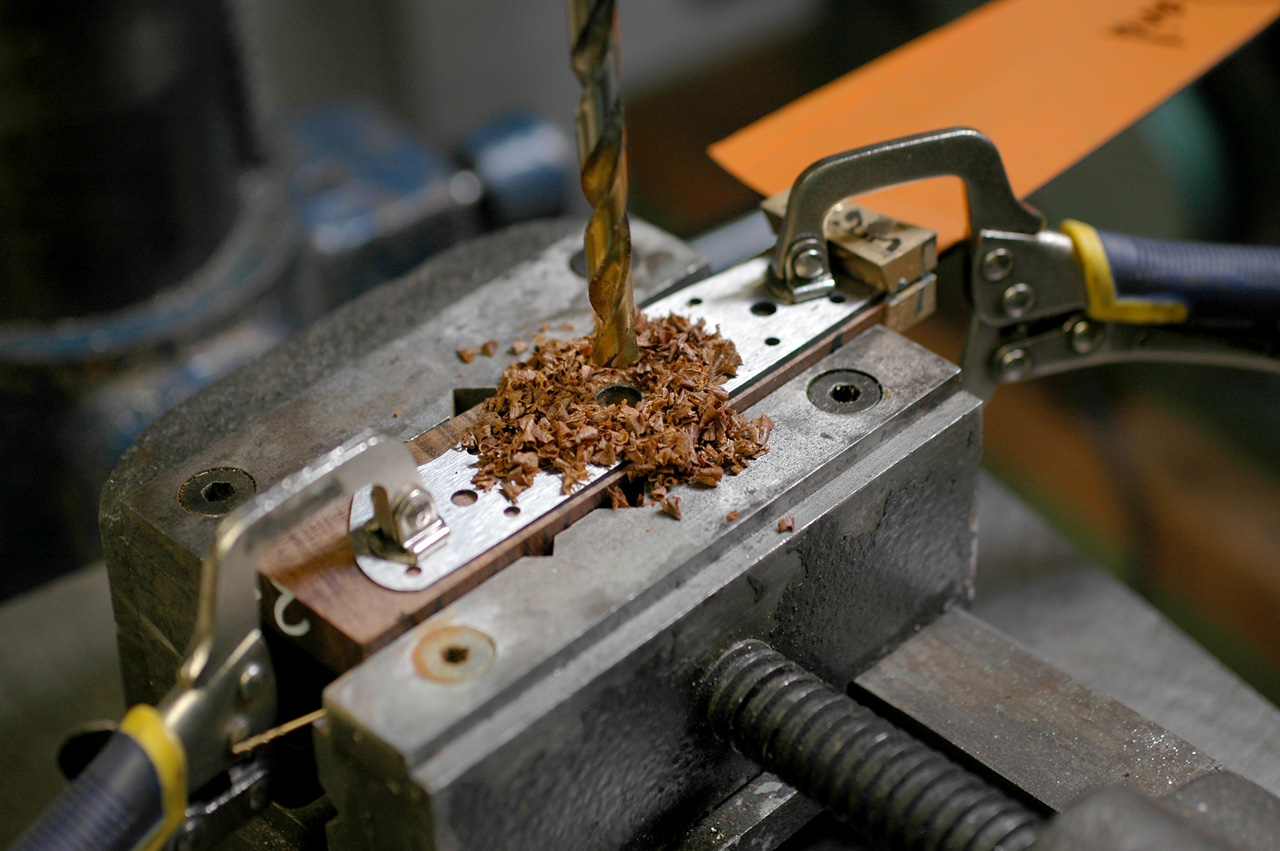
Drilling the holes into the Ringed Gidgee.
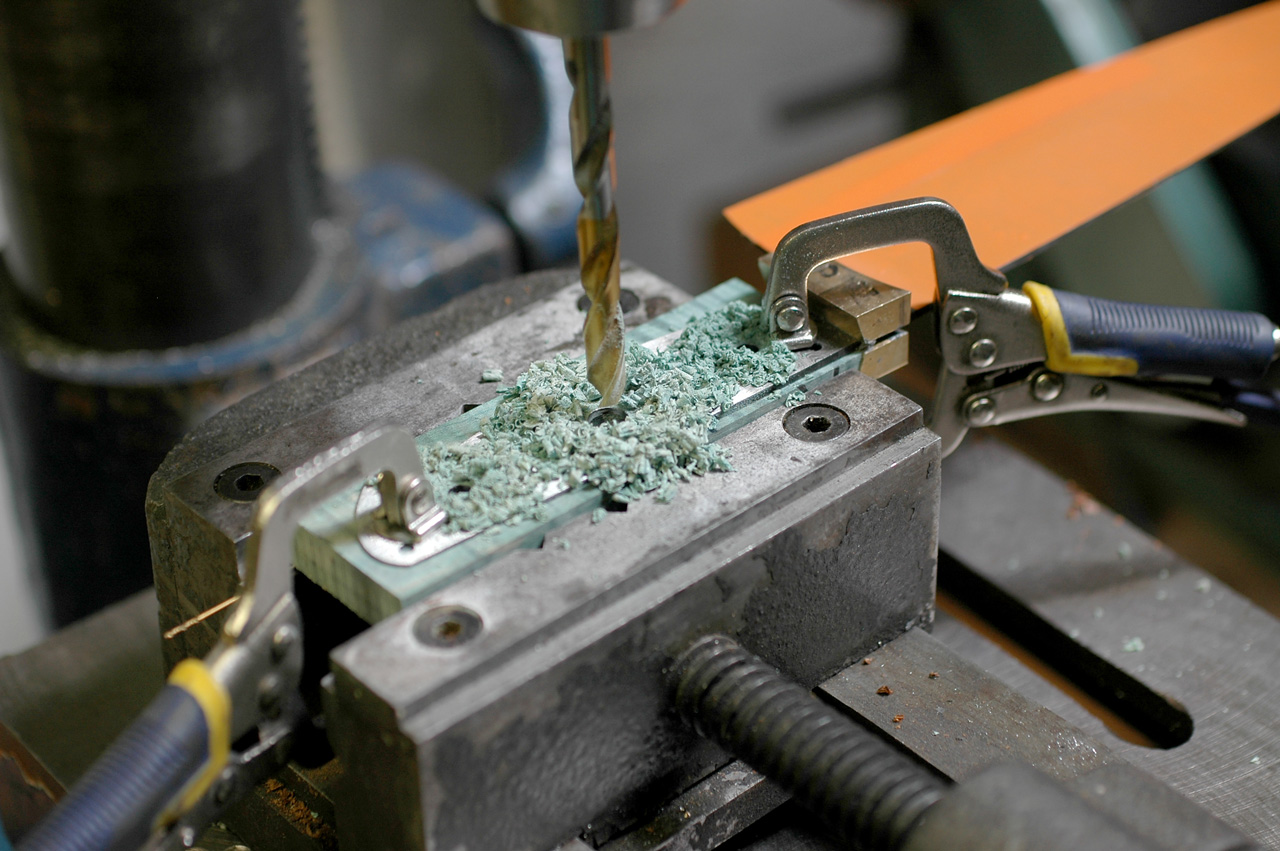
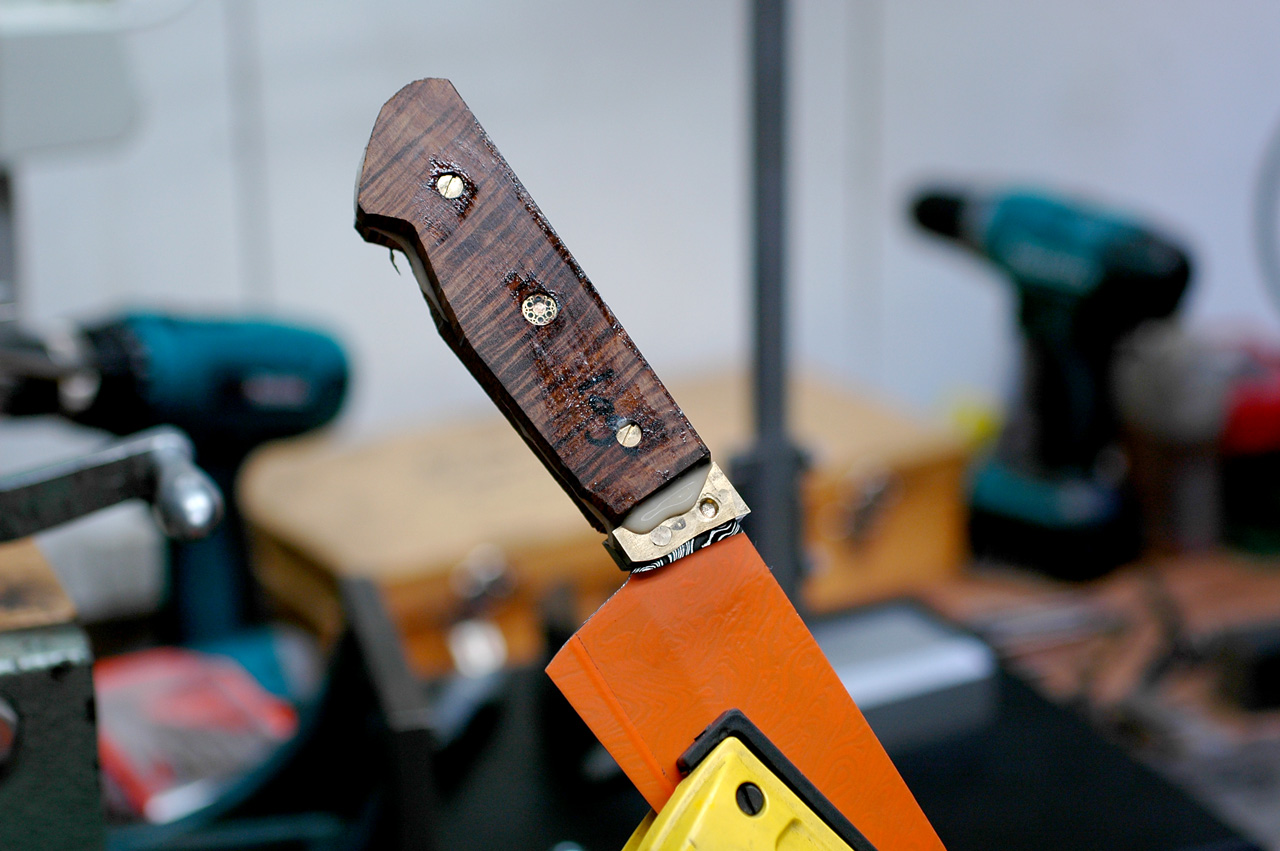
Glueing up the handle.
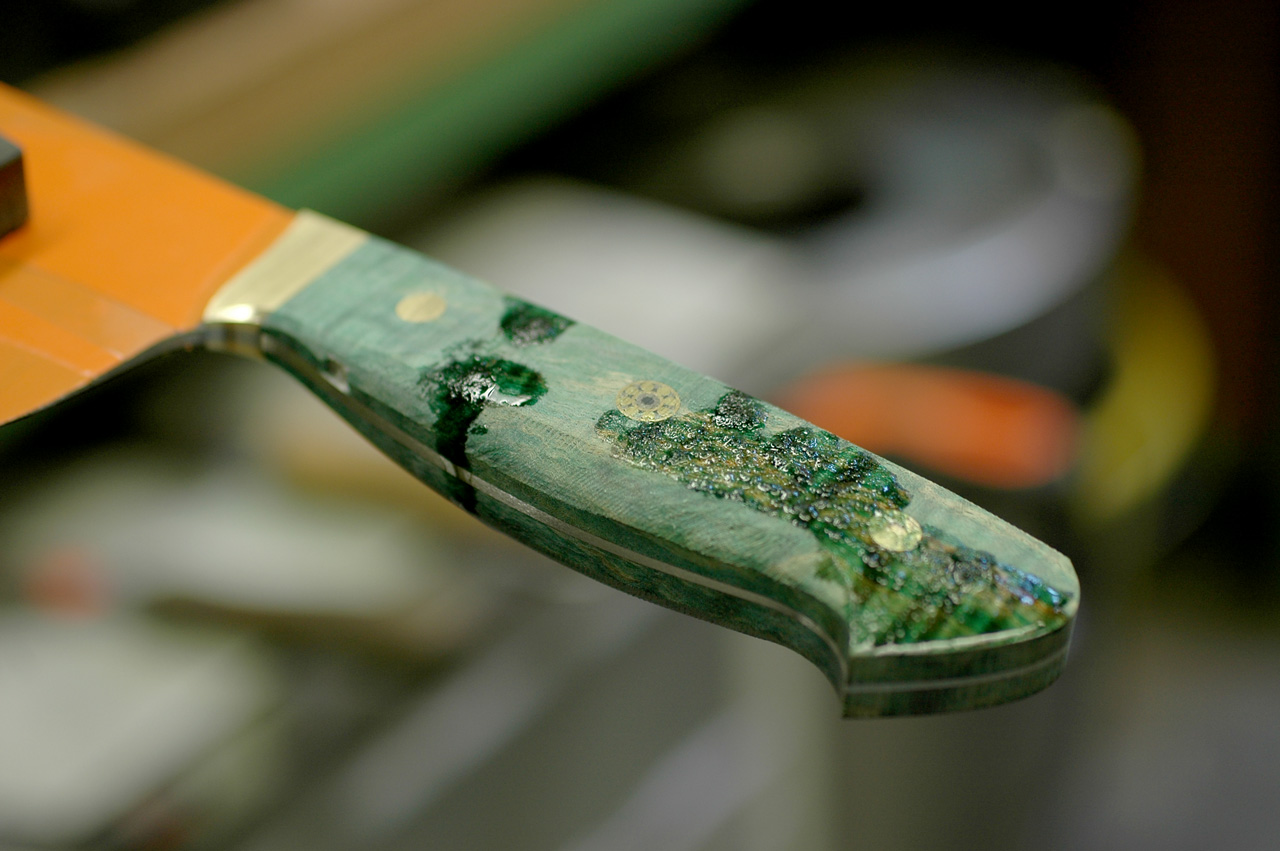
Shaping the handle by hand and filling voids with cyanoacrylate.


